1.3D printer background
3D printing appeared in the mid-1990s and is actually the latest rapid molding device using technologies such as light curing and paper stacking. It works in basically the same principle as ordinary printing. The printer is equipped with "printing materials" such as liquid or powder. After being connected to the computer, the "printing materials" are superimposed layer by layer through computer control, and finally turns the blueprint on the computer into real objects. This printing technology is called the 3D stereoscopic printing technology.
The 3D printing technology can date back to the invention of an inkjet printer in 1976. In 1984, Charles hull opened the curtain of 3D printing by applying optical technology to rapid prototyping. Since the 1980s, 3D printing technology has attracted the attention of the world and begun to enter people's vision and life.In 1986, American scientist Charles Hull developed the first commercial 3D printing press.
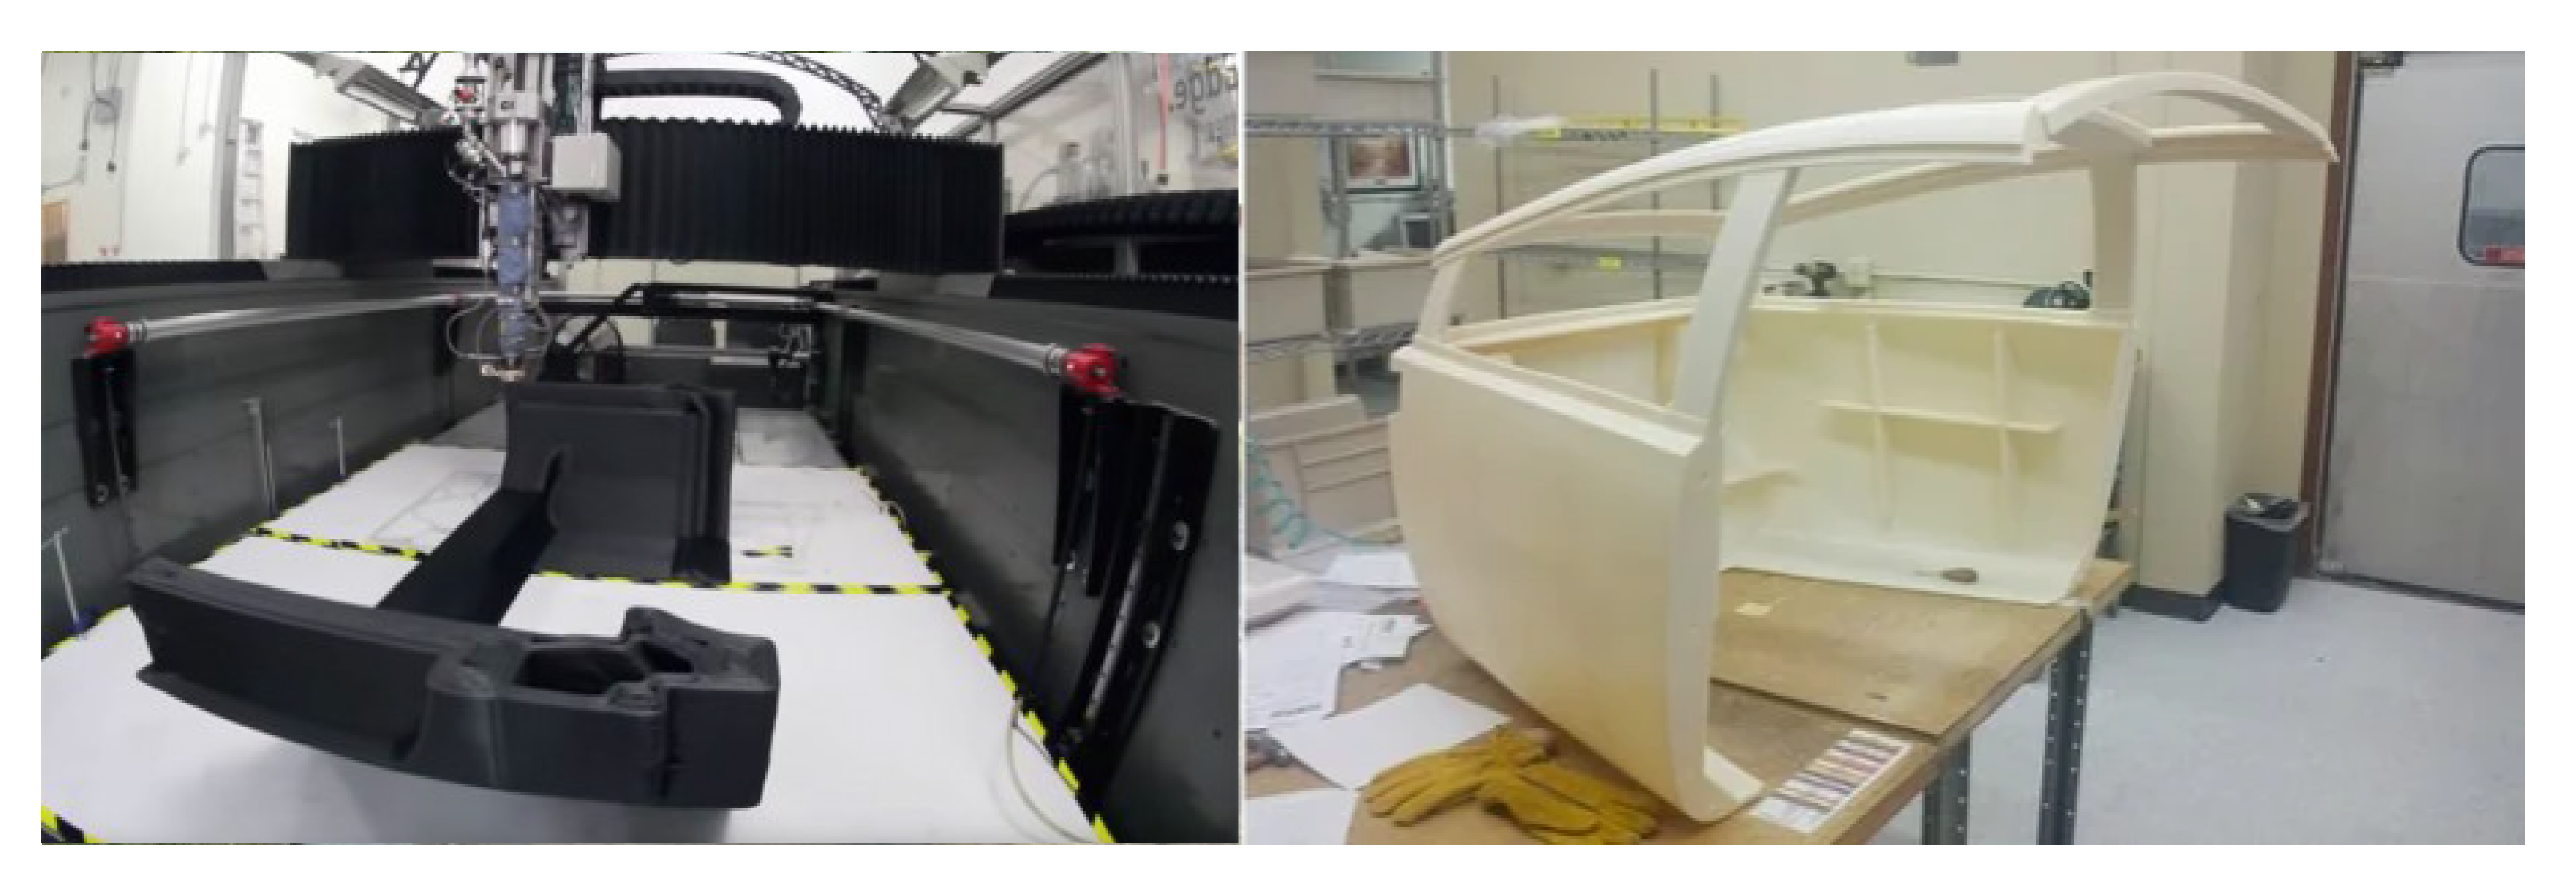
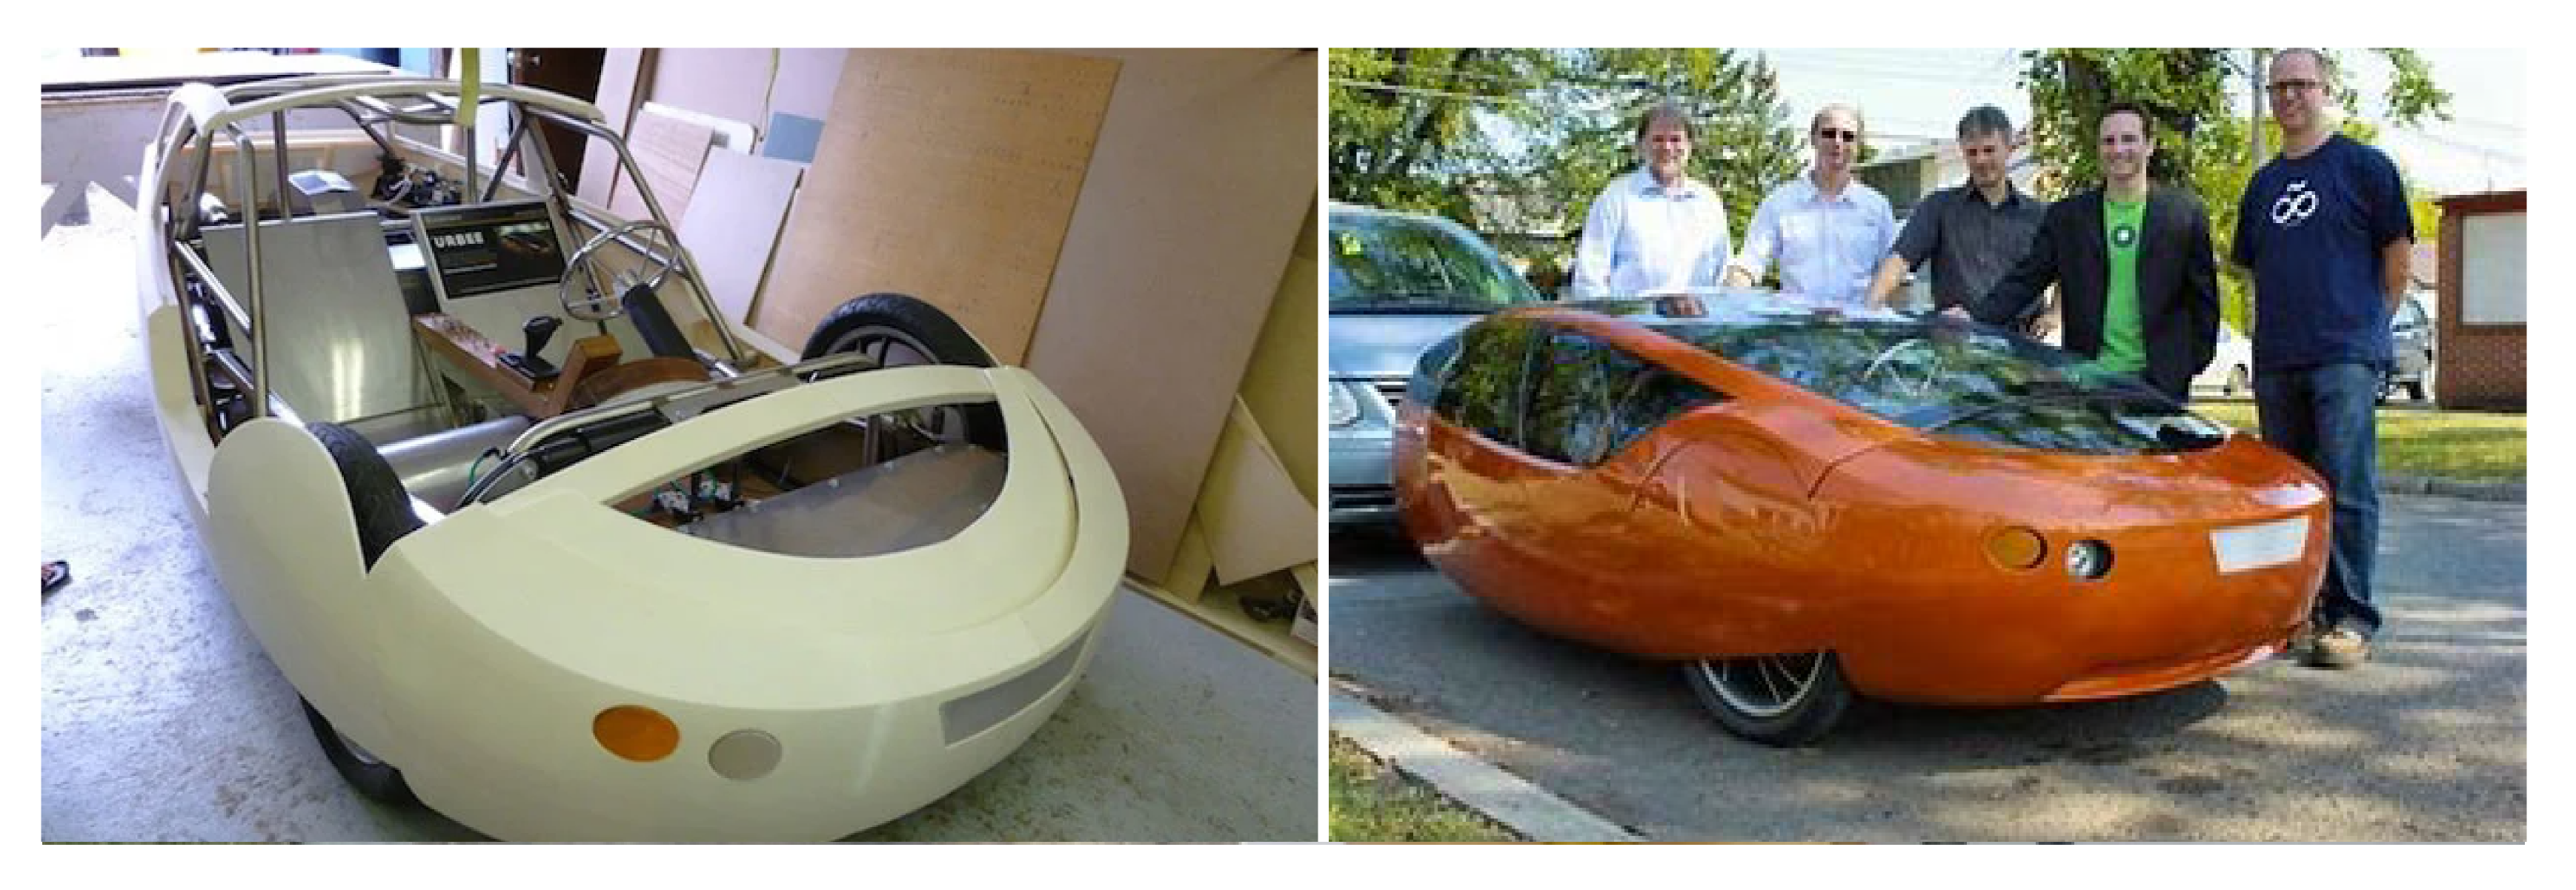
The Urbee was manufactured using Stratasys' Dimension 3D printers and the Fortus 3D production system. The full-scale prototype has not yet been completed, but all exterior components, including glass, will be printed entirely by additive manufacturing – printing the material layer by layer until a car finally appears in front of you.
Nowadays, 3D printing technology has been well developed and applied in many fields such as manufacturing, medical, academic, aerospace and military.
A new 3D printing system, a method developed by American researchers for printing 3D objects in nature, was published in a fixed volume of resin. The printed object is completely supported entirely by thick resin, like an action figure floating in the center of a piece of jelly that can be added from any Angle. It is easier to print increasingly complex designs, while saving time and materials.
In November 2022, CCTV military reported that "we have led the world in the application of 3D printing technology in aircraft in scale and engineering".
In 2022, Harbin industrial university institute of Chongqing project director, doctoral supervisor Yang Zhihua led the team around the "advanced ceramics and intelligent manufacturing technology" major breakthrough, master the structure function integration of ceramics and device preparation core technology, especially the ceramic 3D printing "customized" key technology, according to different devices and demand for large-scale processing and production.
June 2023-An international team of researchers including the Royal Melbourne University of Technology and the University of Sydney have combined the alloy and 3D printing process to create a new titanium alloy that is strong but not brittle under stretch.
On April 3,2024, the lunar exploration project with magpie bridge guide technology test satellite —— days 2 satellite propulsion subsystem work normal, provides the satellite around the moon orbit attitude control, marks the liquid ammonia air micro propulsion system in the field of deep space exploration successful application for the first time, at the same time marks the 3D printing tank in China for the first time in-orbit applications.
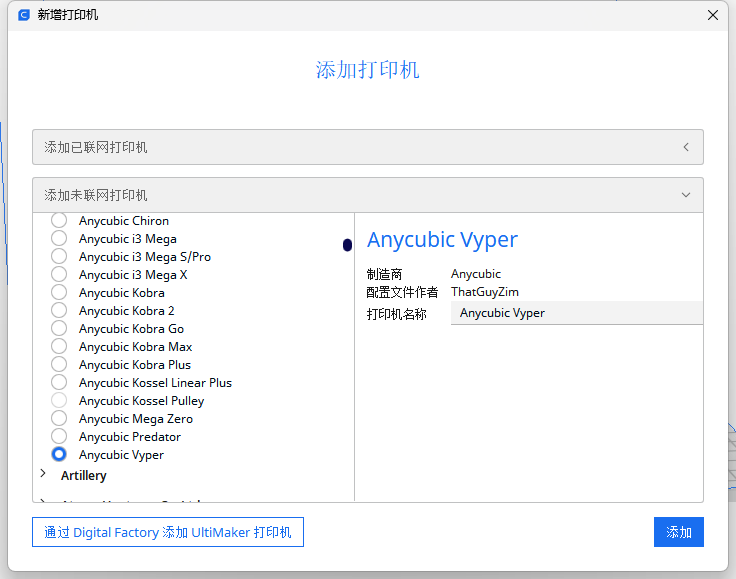
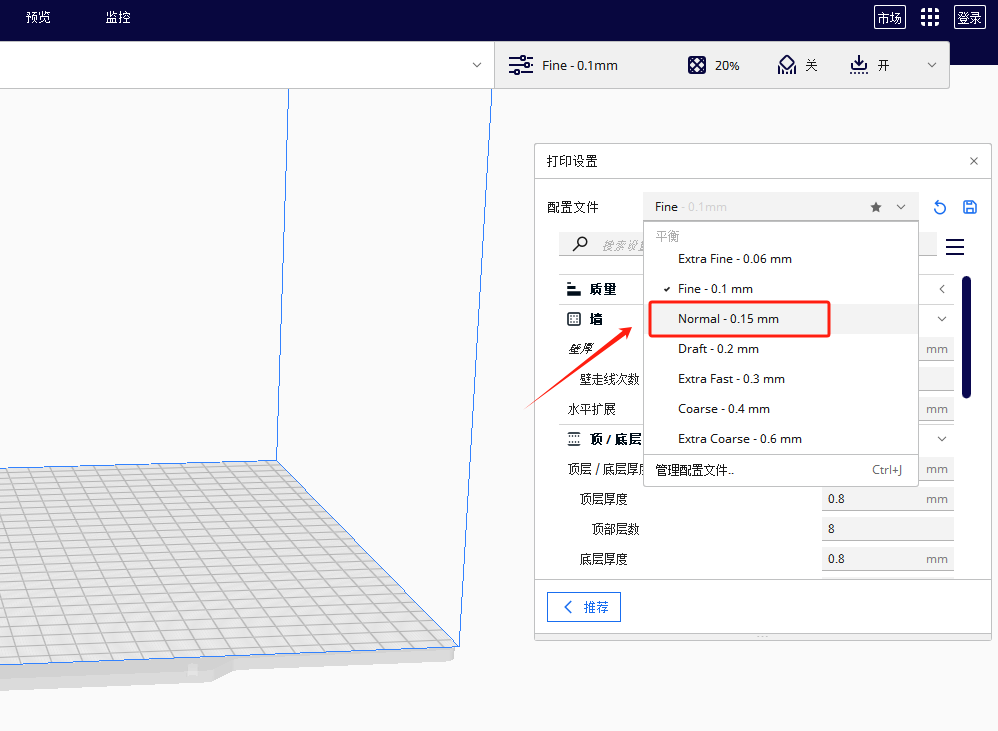
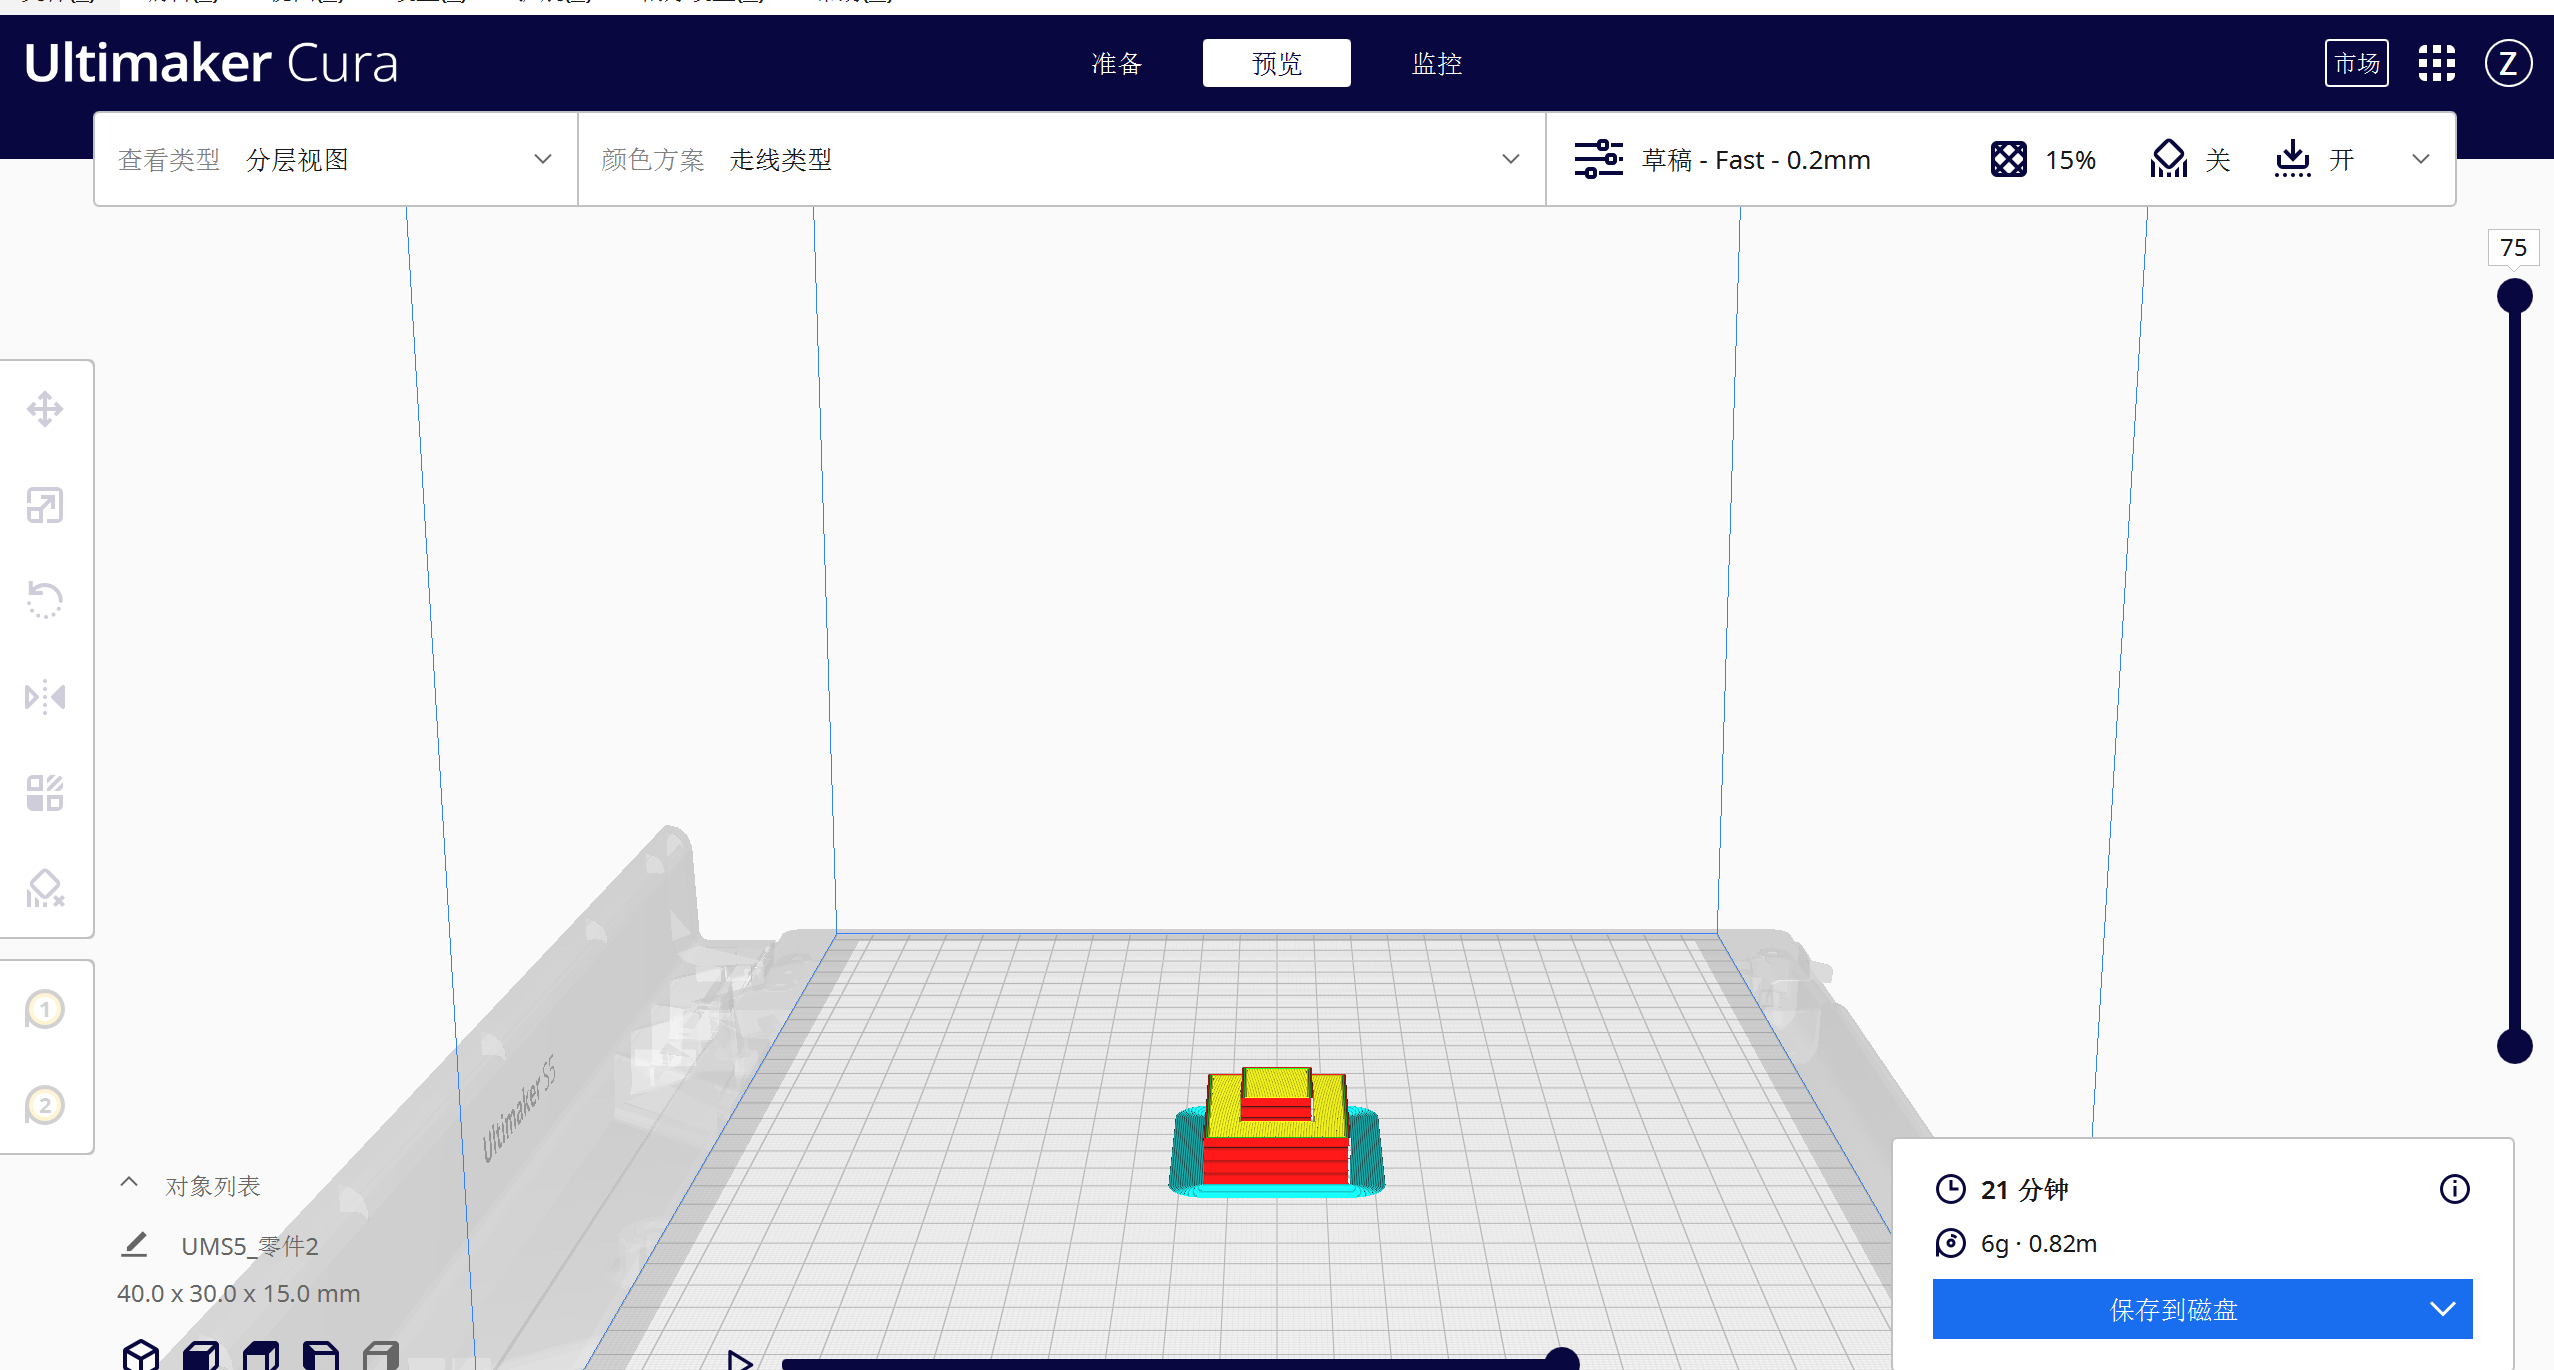
Use slice software to set parameters
Step1:Choose the correct printer.
Step2:Change to "Nomal".
Step3:Change the wall thickness to the appropriate value.
Step4:Change the top thickness to the appropriate value.
Simple Table
| Name |
value |
| wall thickness |
1.6 |
| top thickness |
2.0 |
Step5:After completing all the numerical settings and Click "Slice".

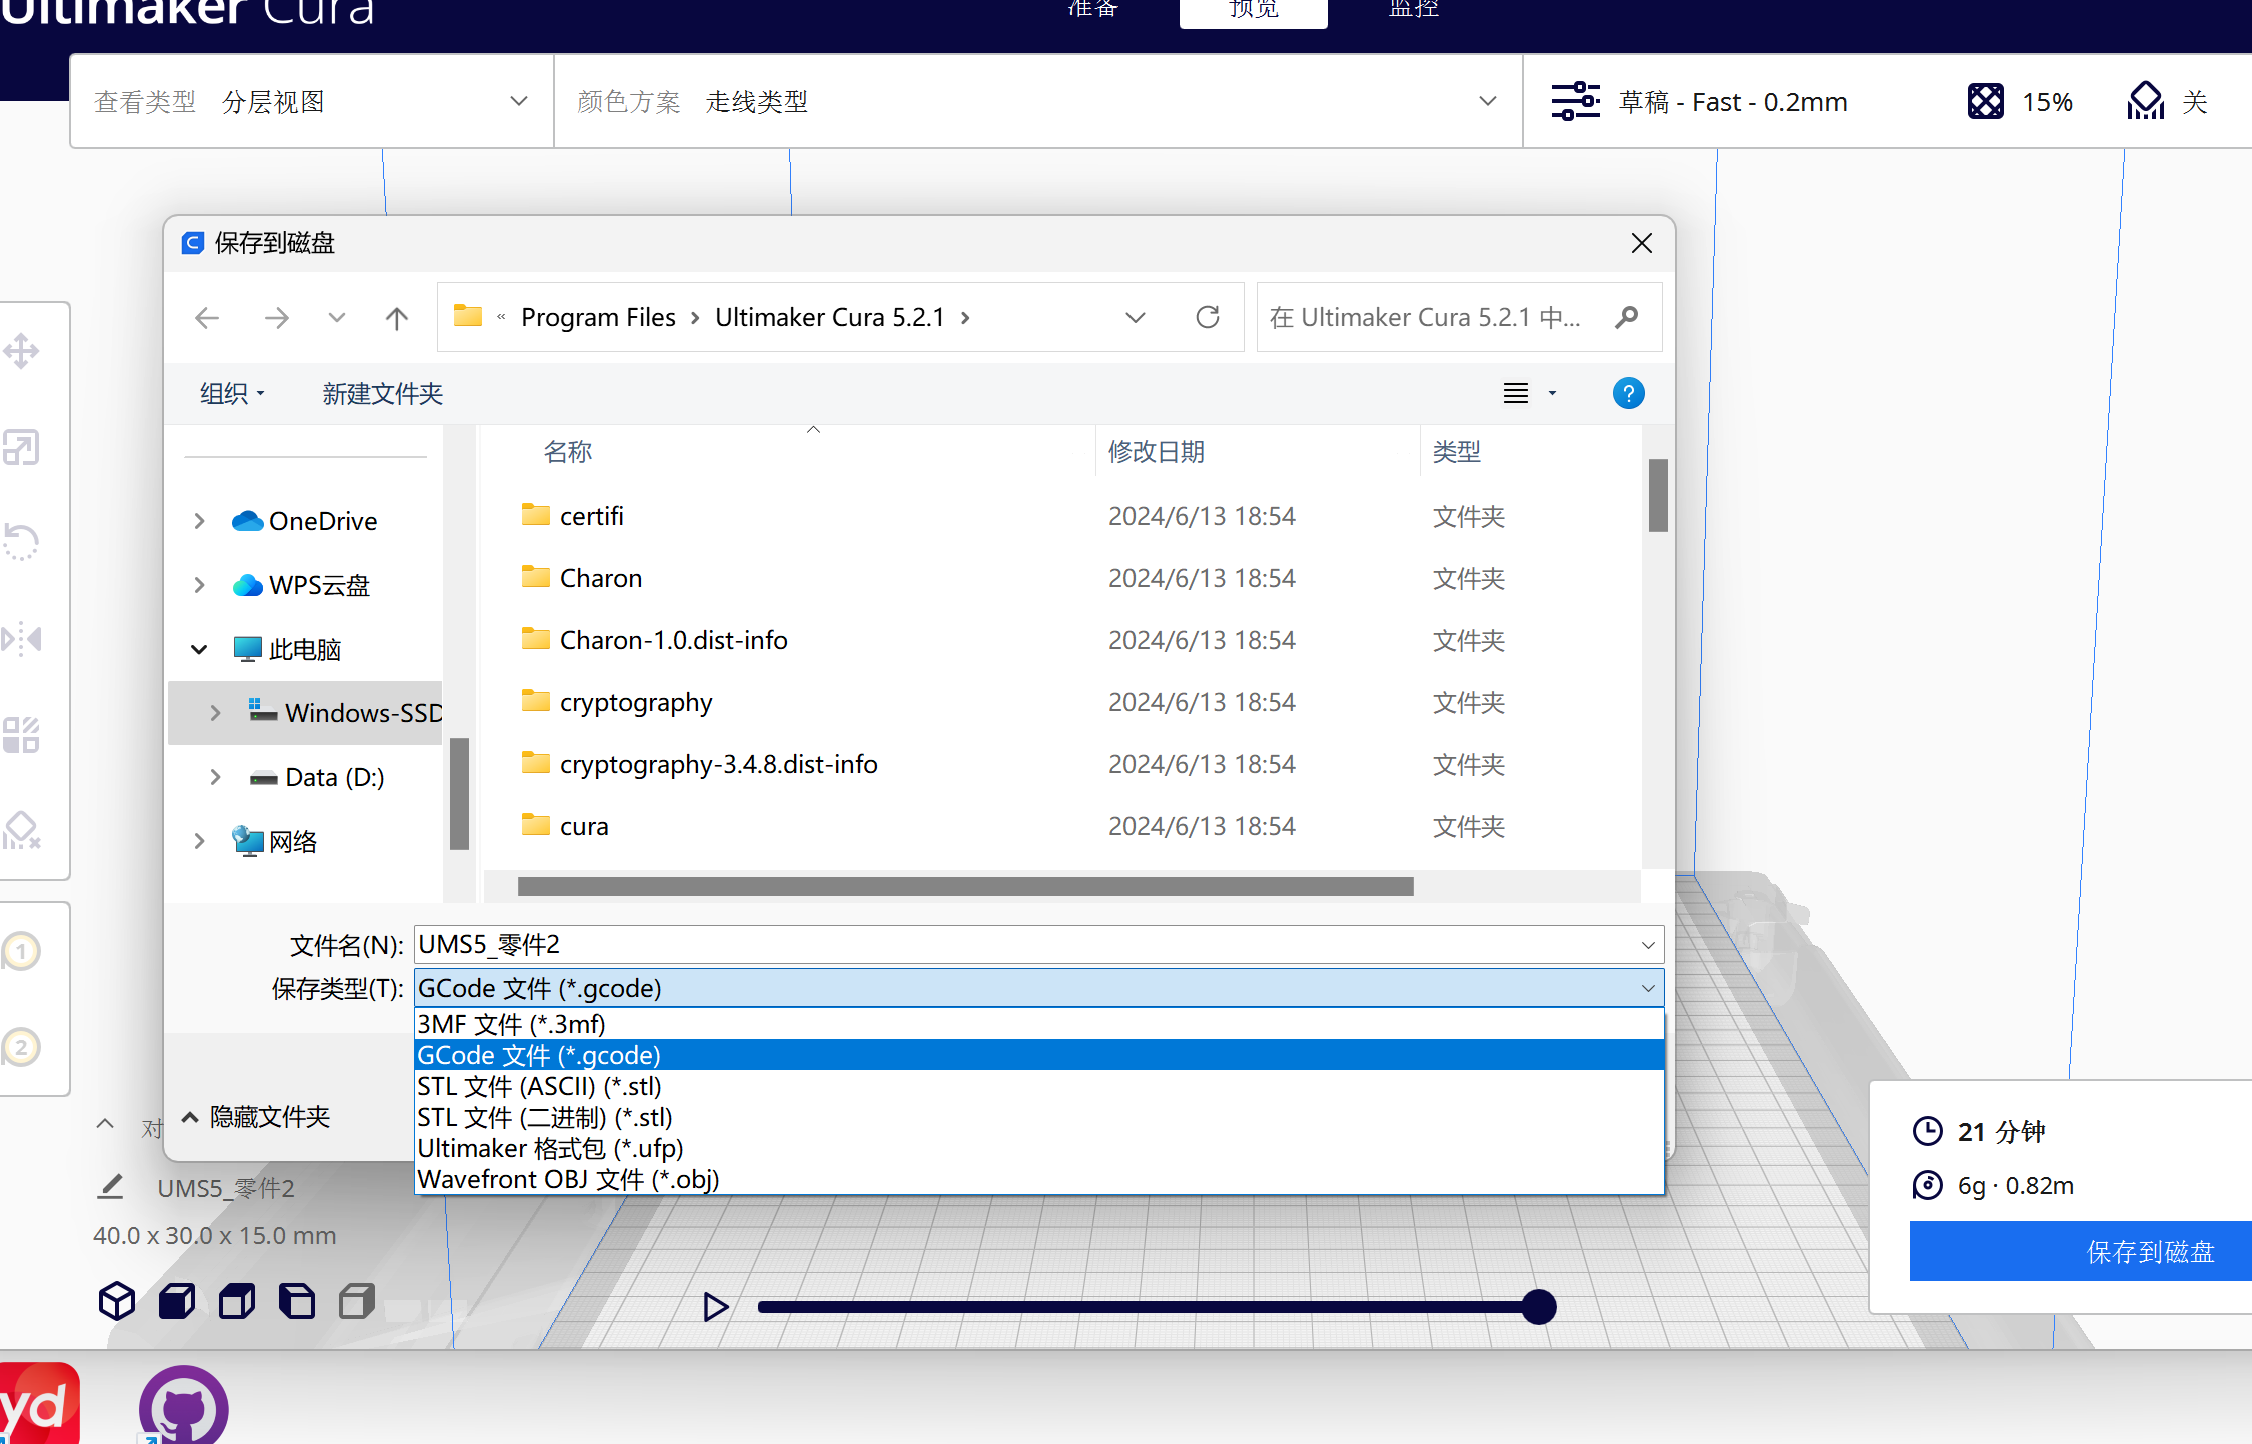
Step6:Finally export the gcode file.

Use 3D printer to manufacture it
Step1:Copy the gcode file into the storage card of the 3D printer.
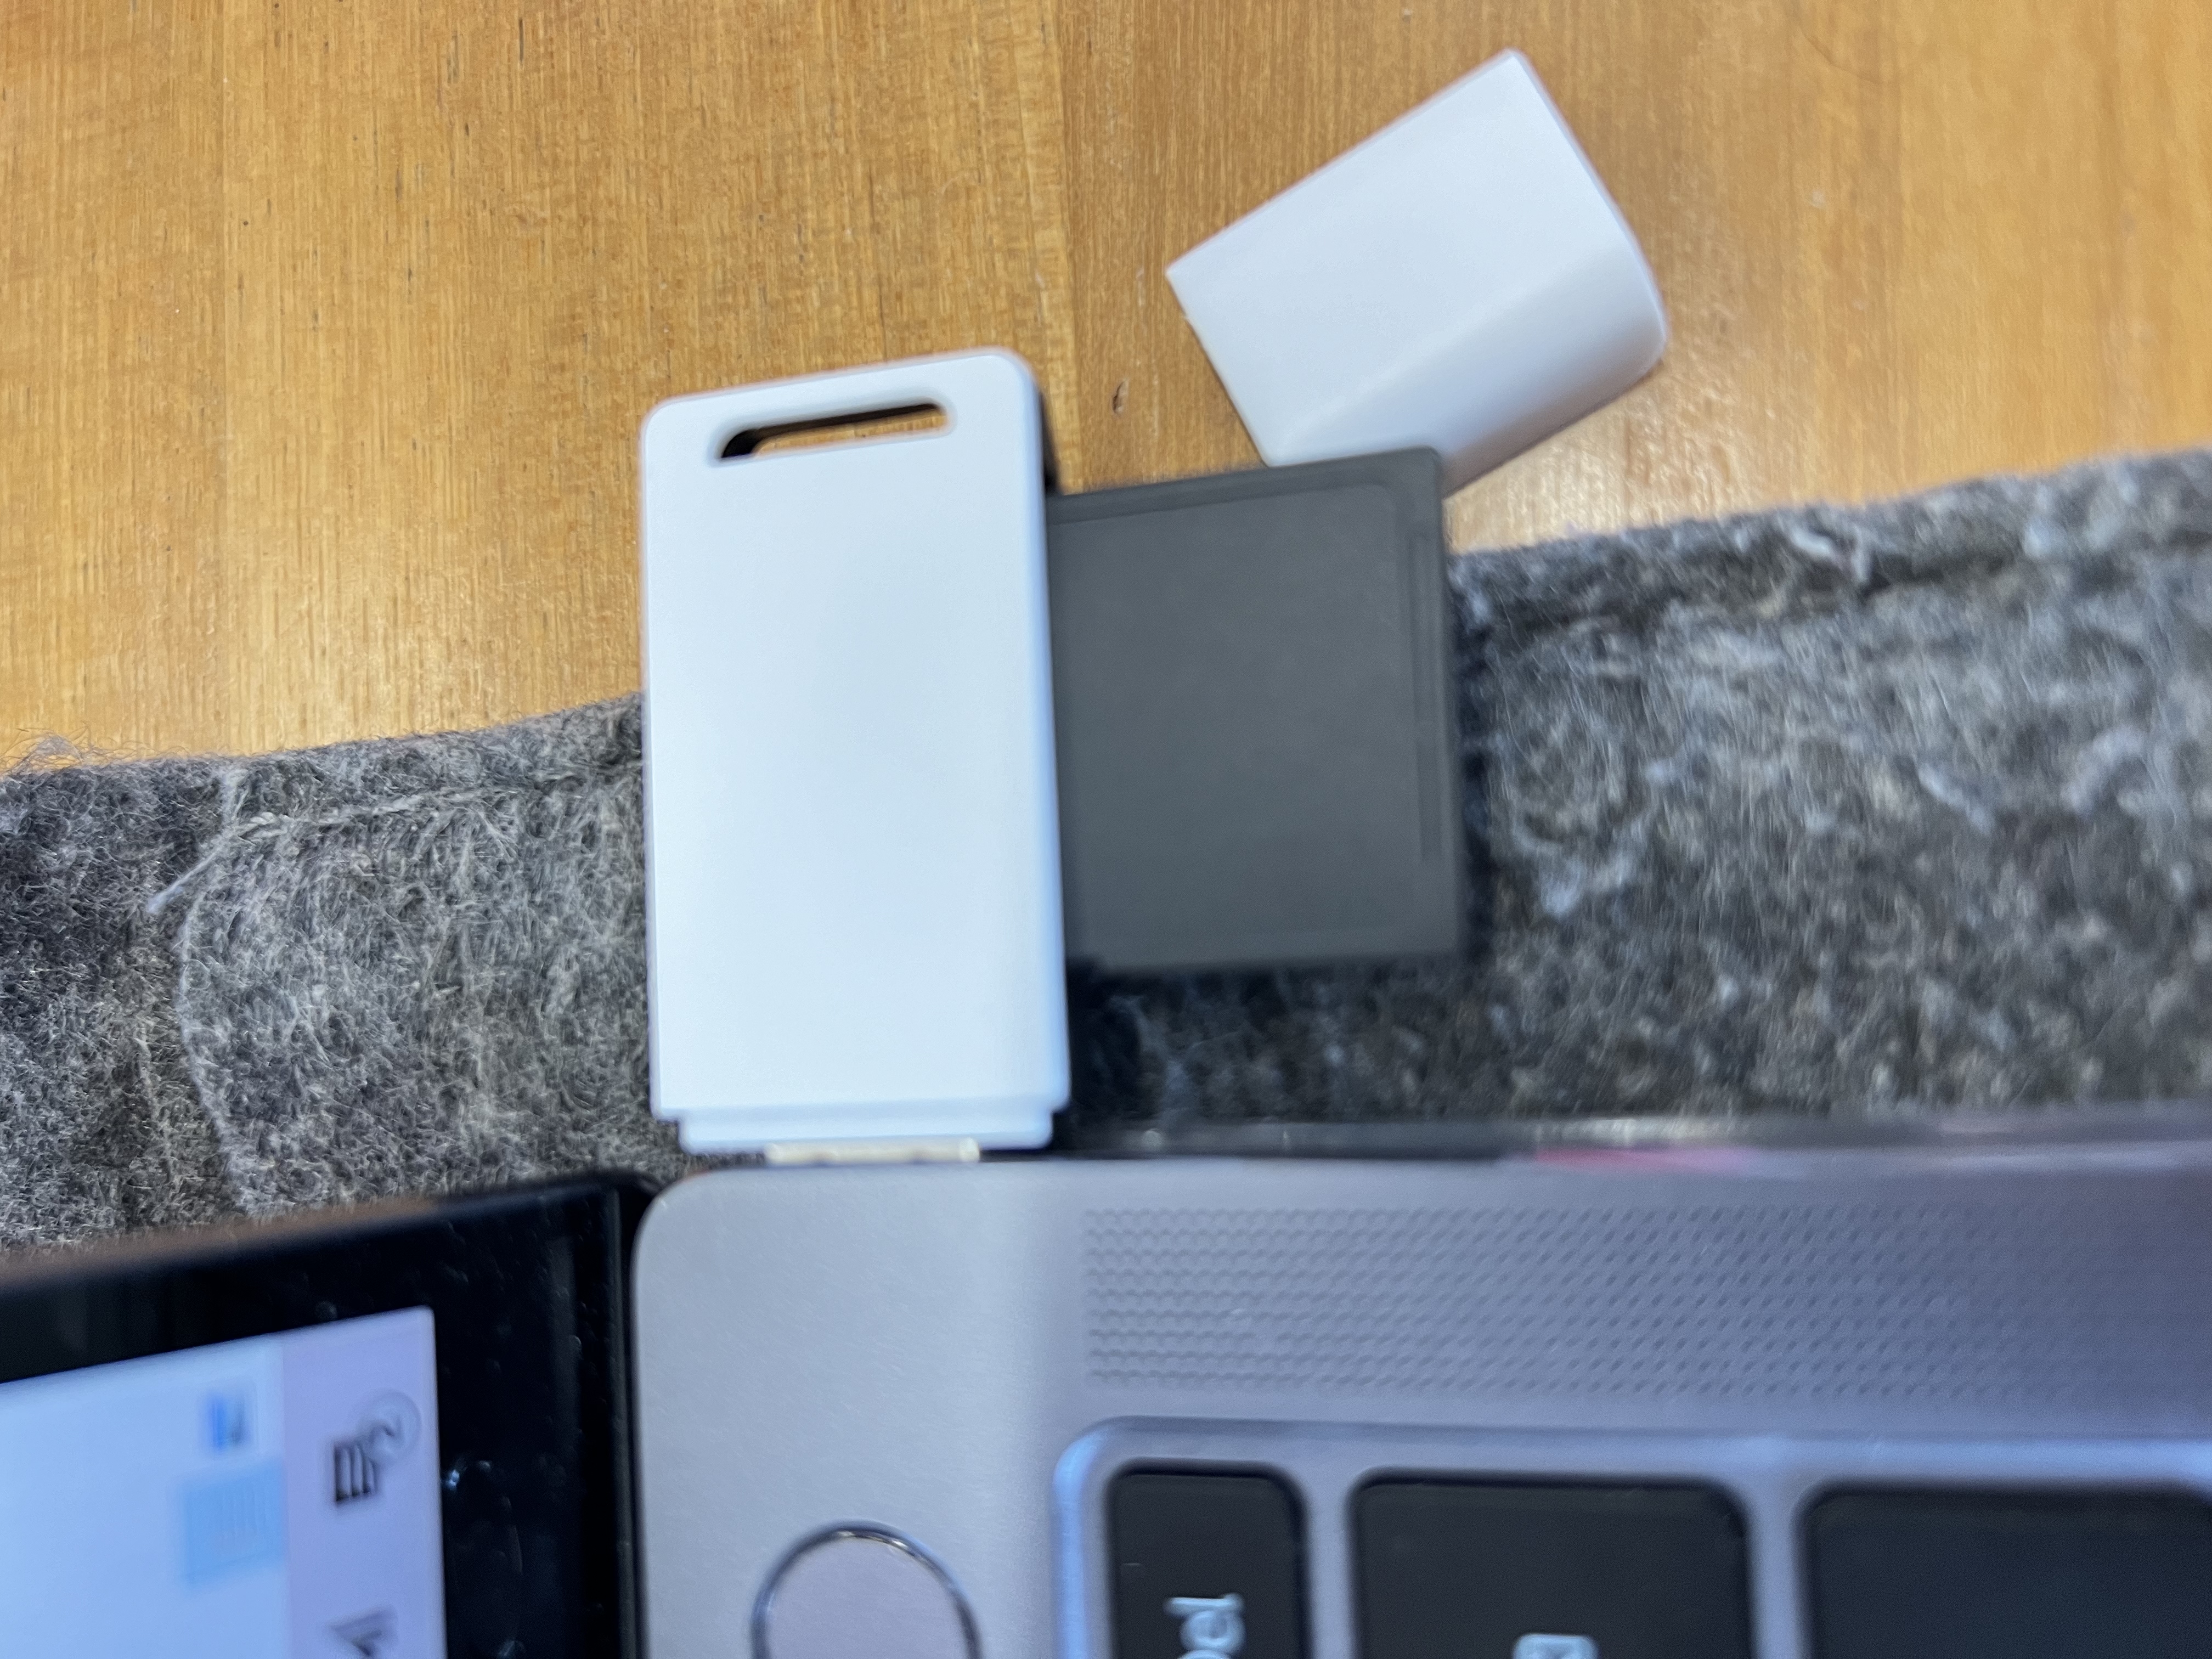
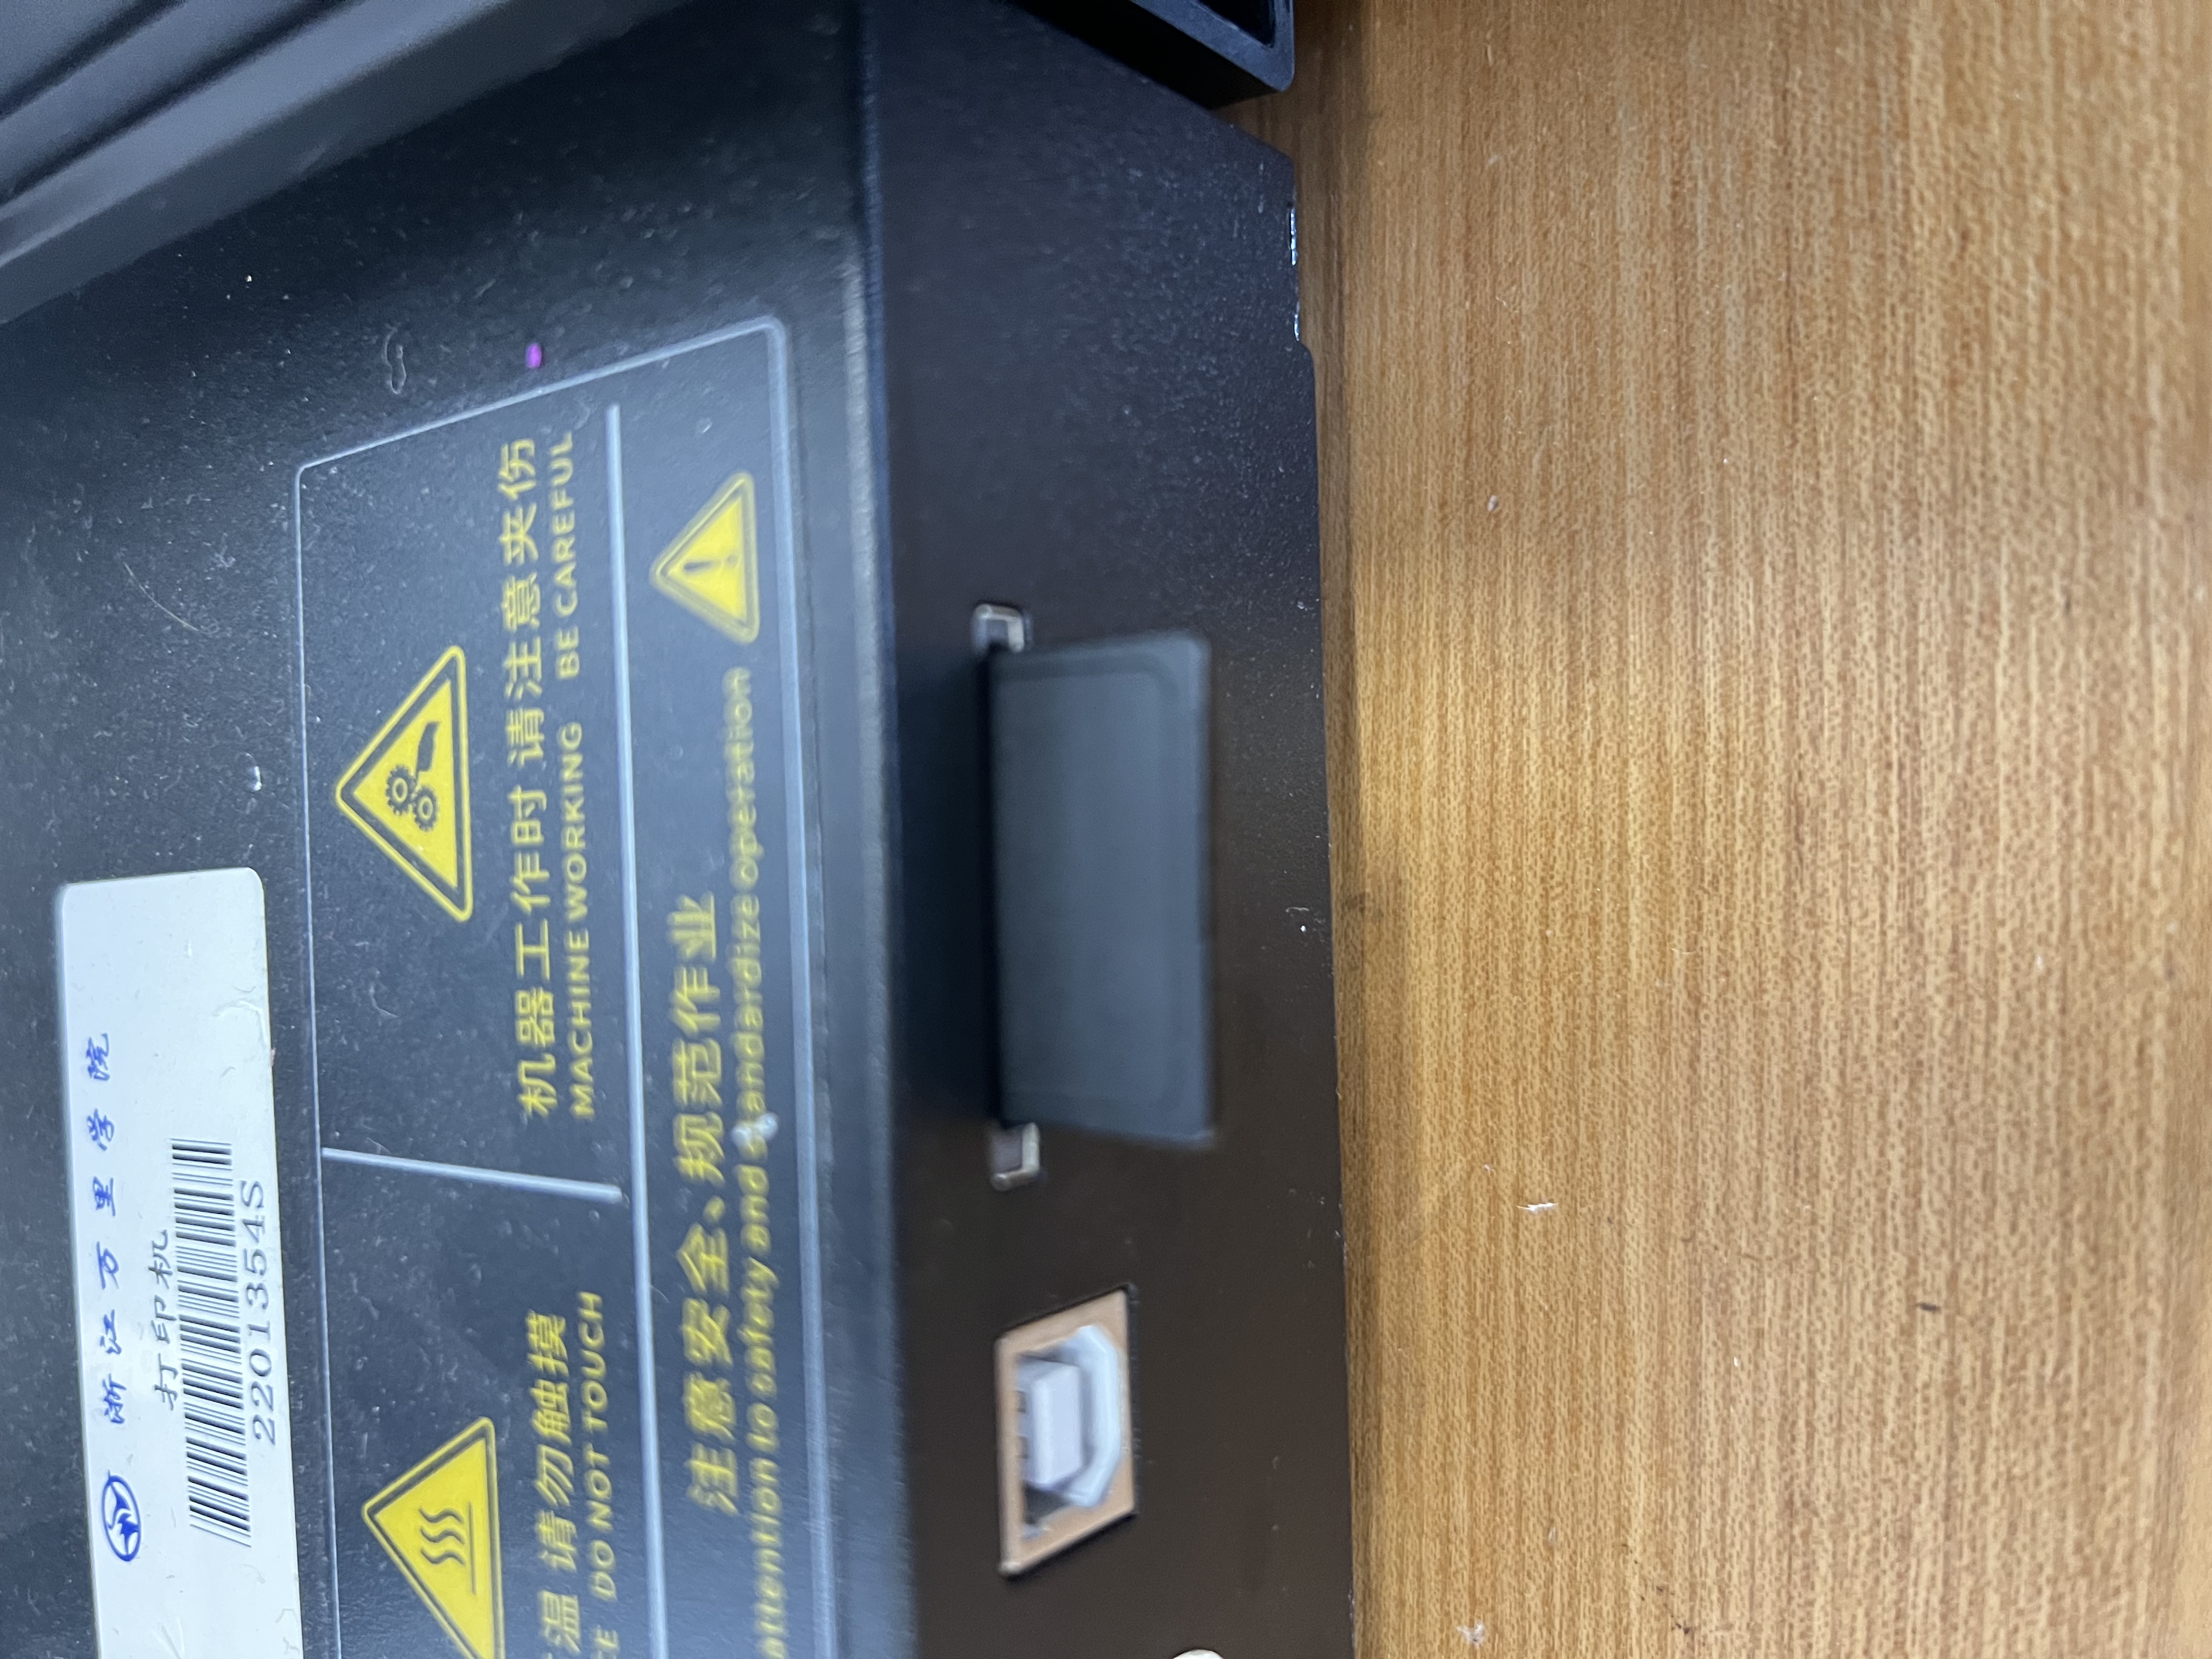
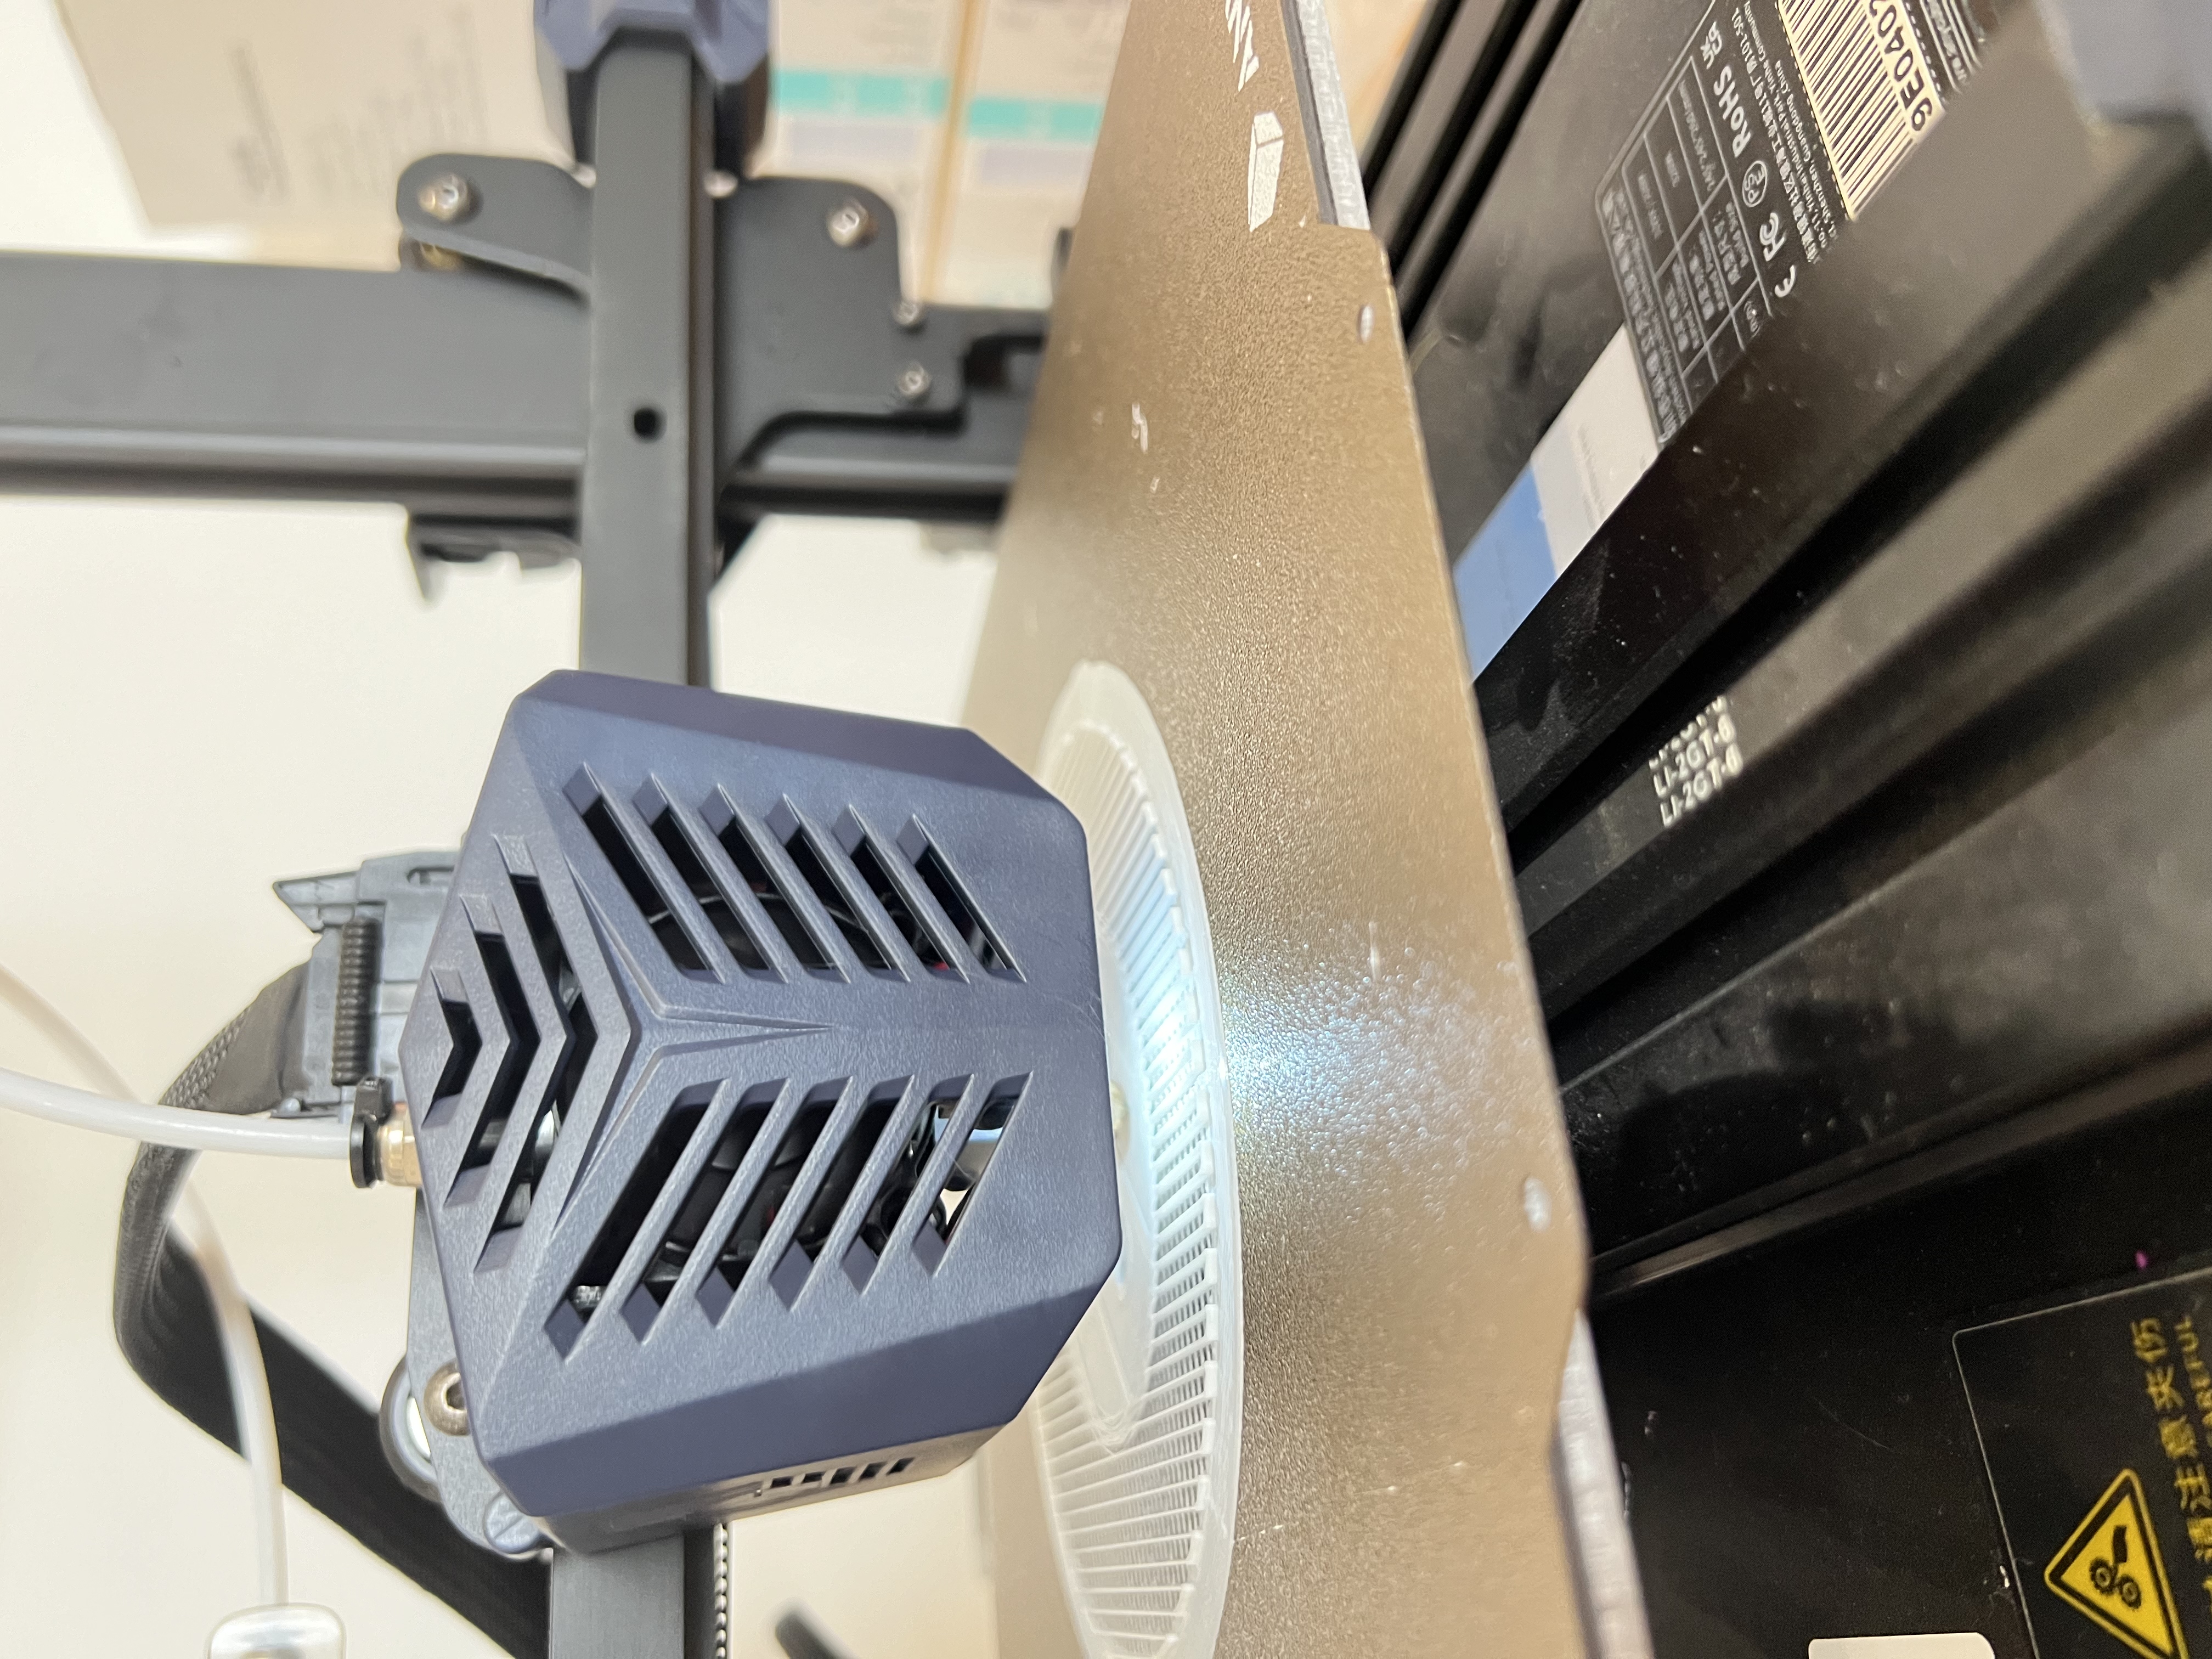
Step2:Insert the storage card into the 3D printer.
Step3:Choose the correct file.
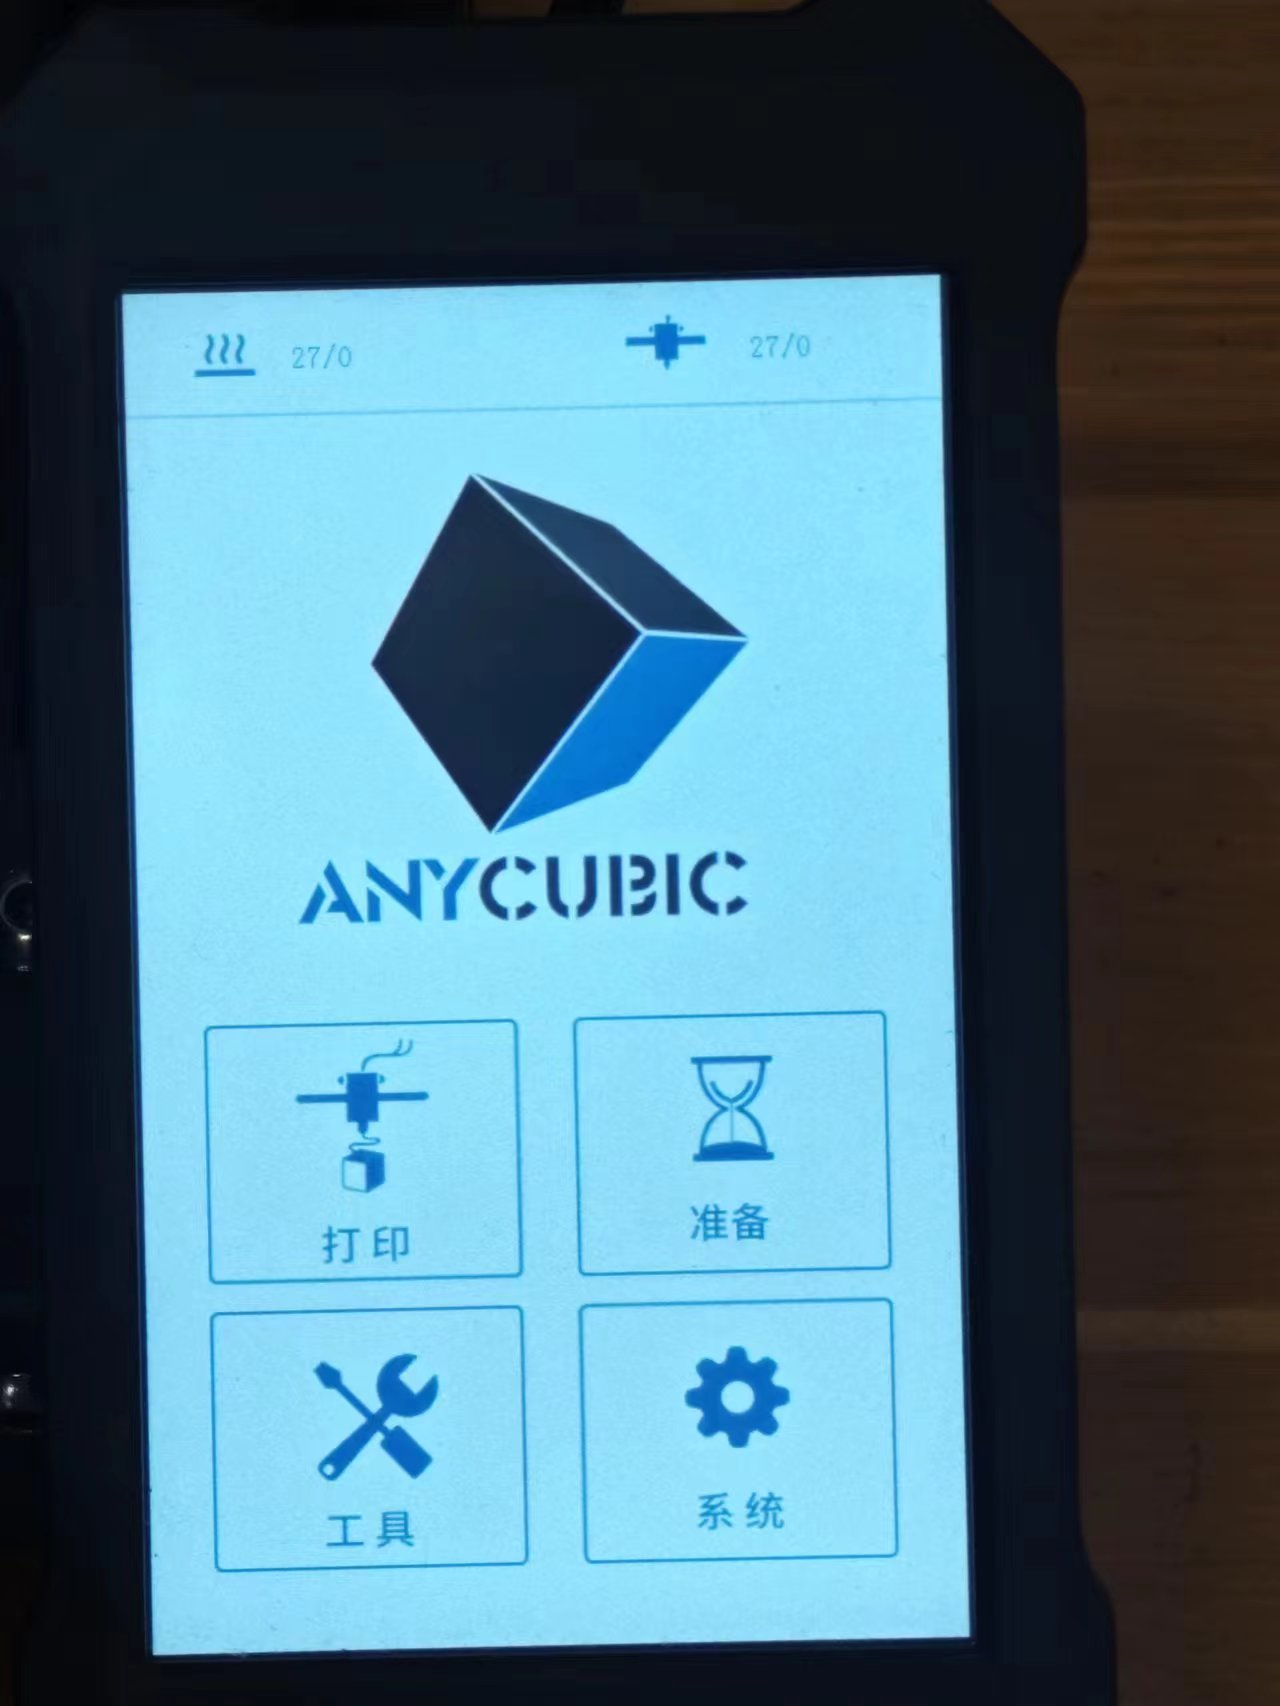
Step4:Start to print.
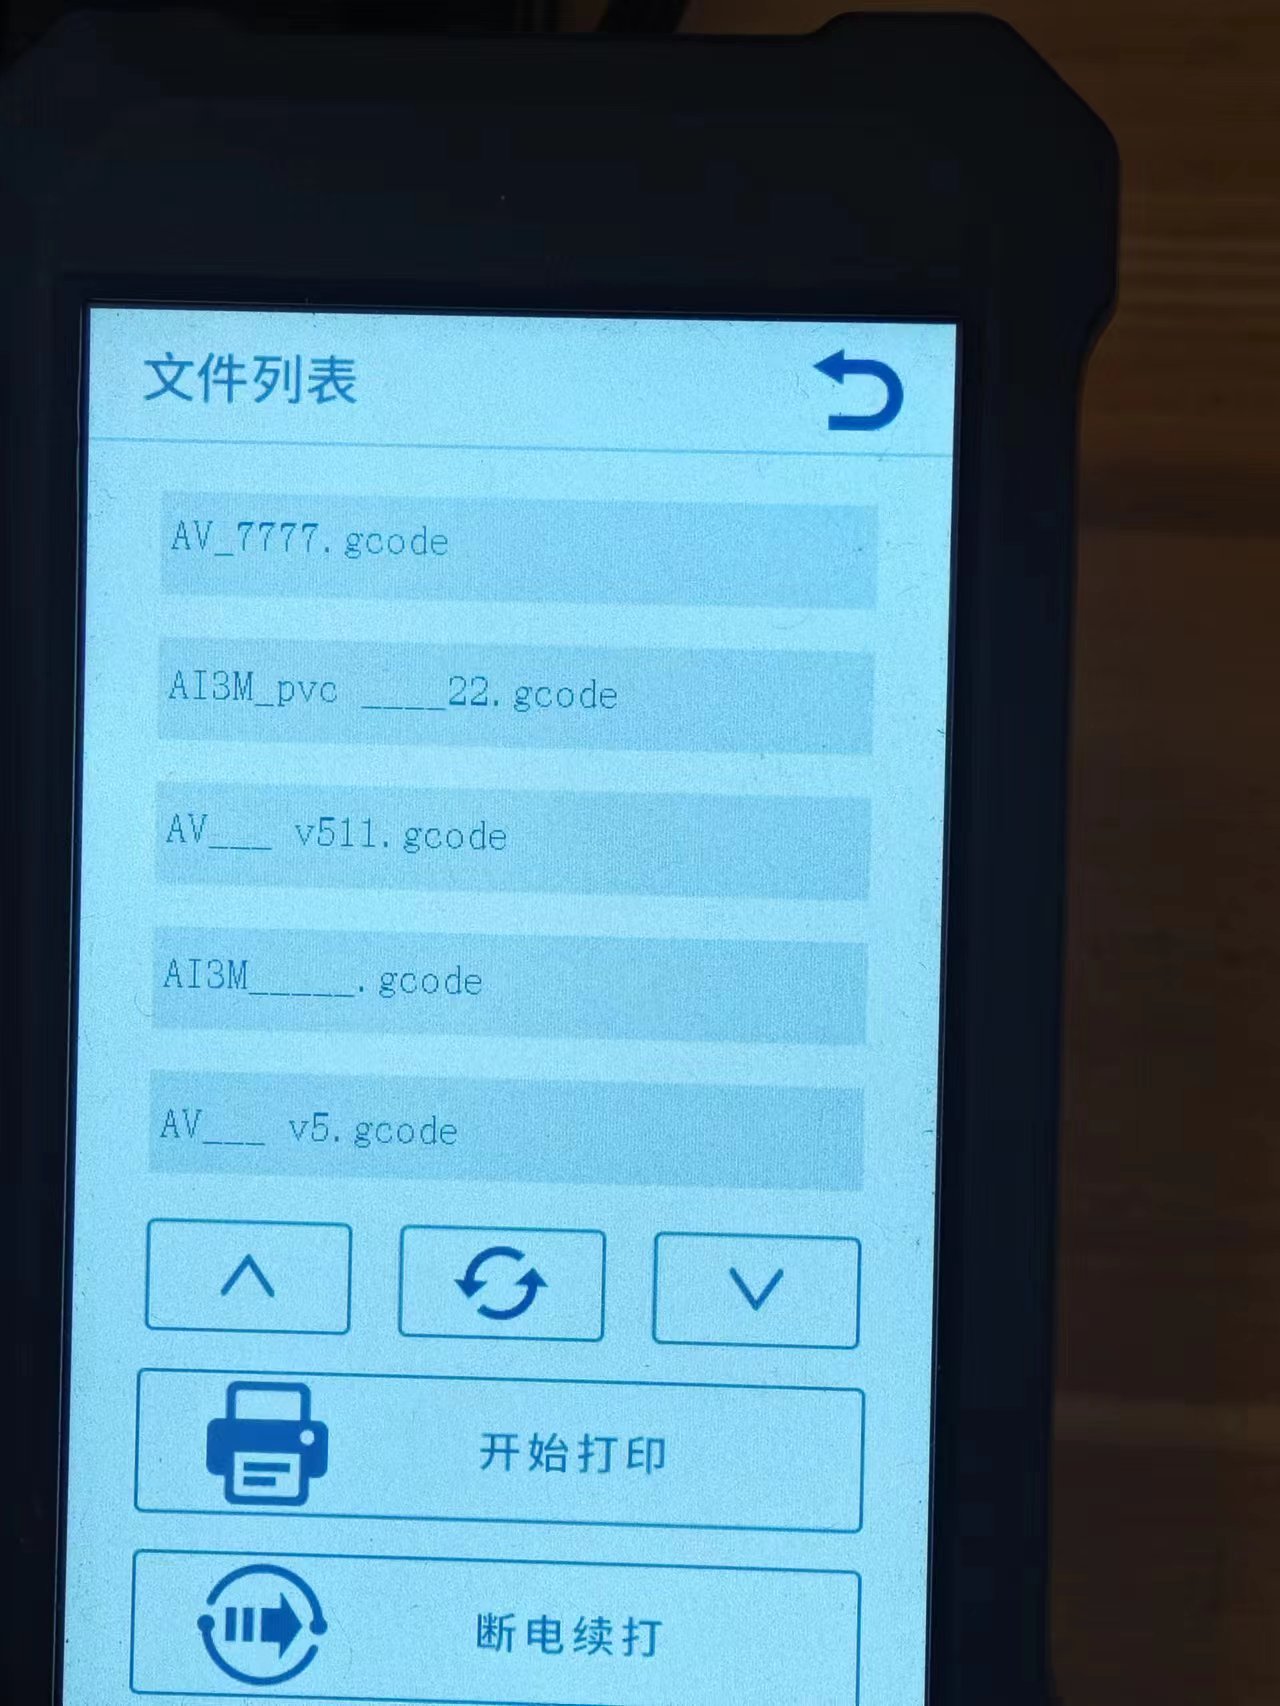
Step5:End printing.
Postprocess the surface
1.Remove support:
Prints with support material will require post-processing to remove the support structures. This can be achieved by breaking the support structures from the build material.
Tear the inner support structure
Start by removing the walls of the support structure with gripping pliers. This allows you to quickly tear away the majority of the inner support structure.
Pull the Breakaway support from the build material
After removing most of the support structure, the remaining part(s) can be pulled from the build material. Use cutting pliers to grab the Breakaway support in a corner and try to carefully get underneath it, then bend it upwards. Repeat this for several corners, so that you can loosen the support from the model around the corners. After this, pull the Breakaway support from the model.
Peel the last traces from the model
Sometimes a final layer of the support material will remain after pulling the Breakaway support from the build material. If this happens, use cutting pliers to peel it off from a loose edge. Any leftover traces on the model can be removed with tweezers.
2.Model coloring:
including spray painting and hand painting methods. The spray painting method is suitable for coloring small models or fine parts, and a trial spray is required before operation to test the concentration. The hand coating method is suitable for handling complex details, and attention should be paid to pigment dilution to ensure uniform color.
3. Polish model:
We would use sandpaper to polish model with water ,choice sandpaper 180 for rough polish, 240 for polish and 320 for finish polish The following is the result
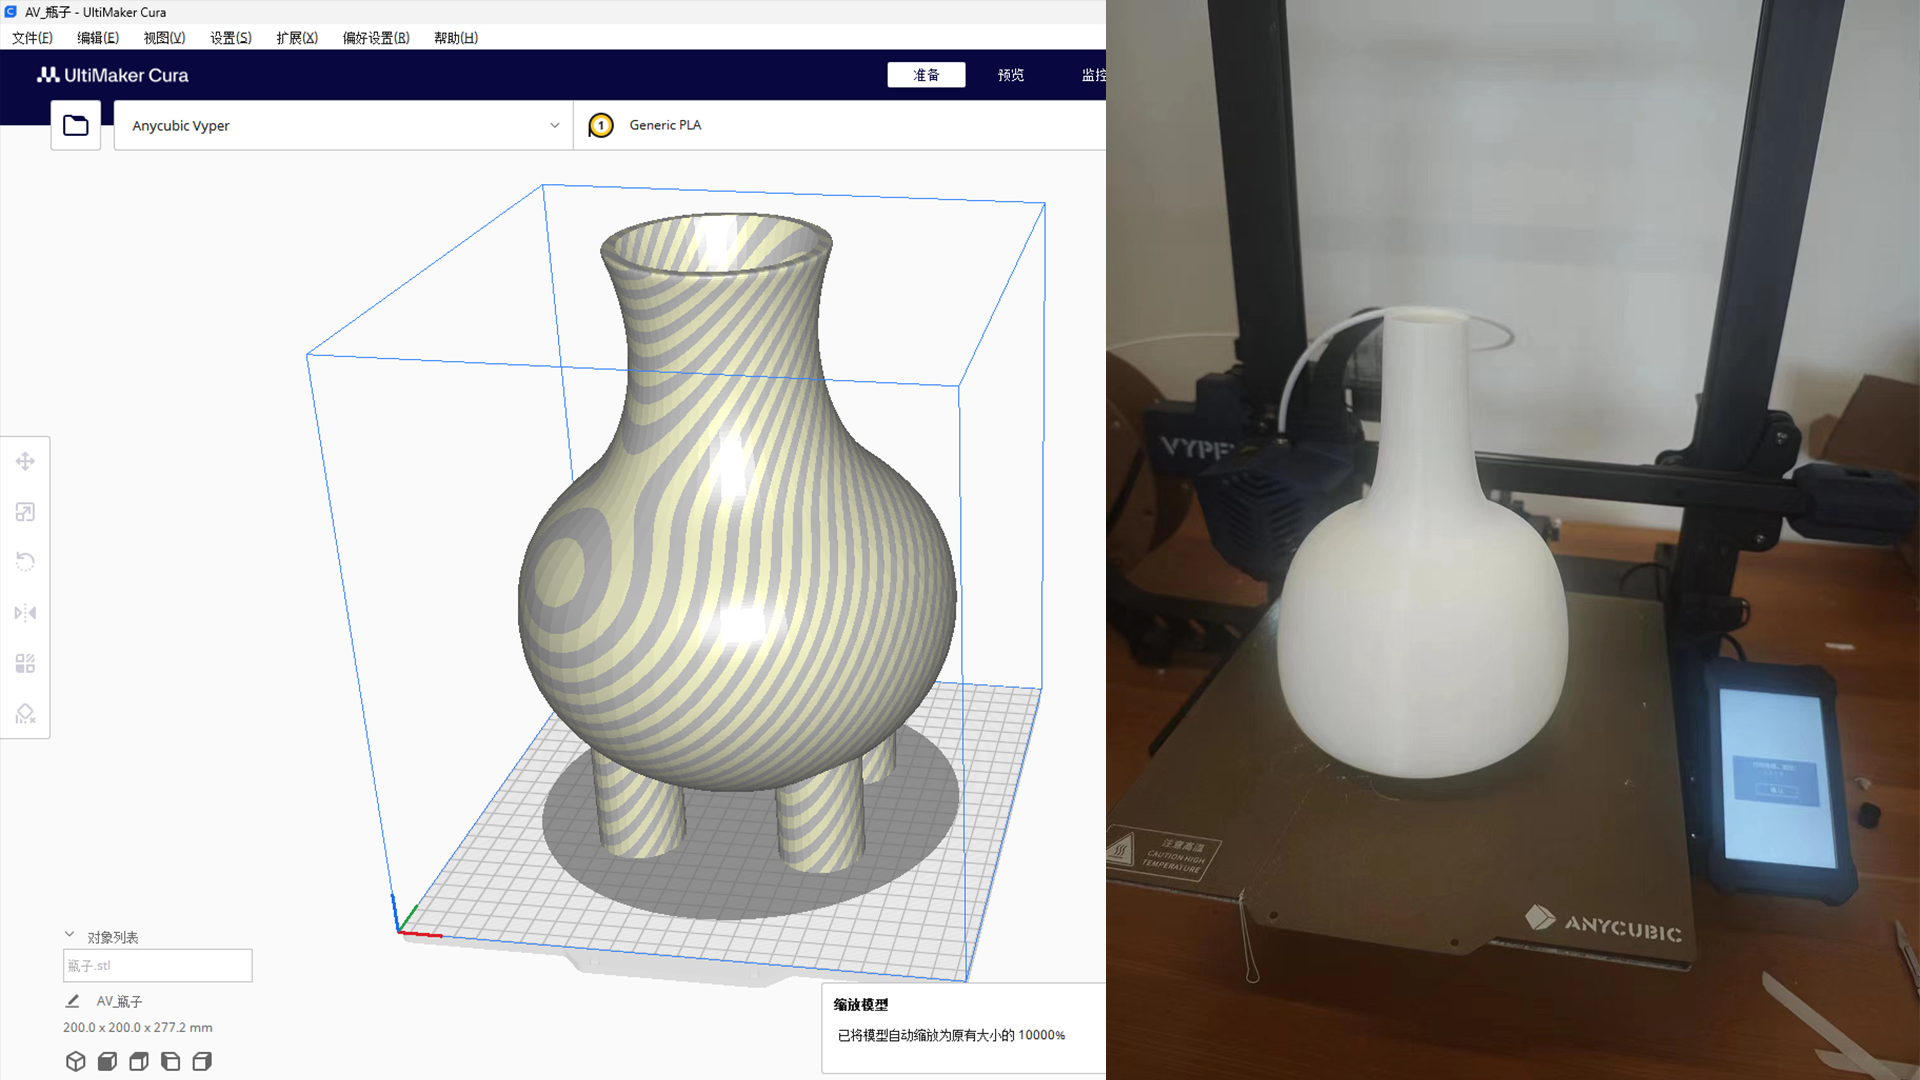
3D model .
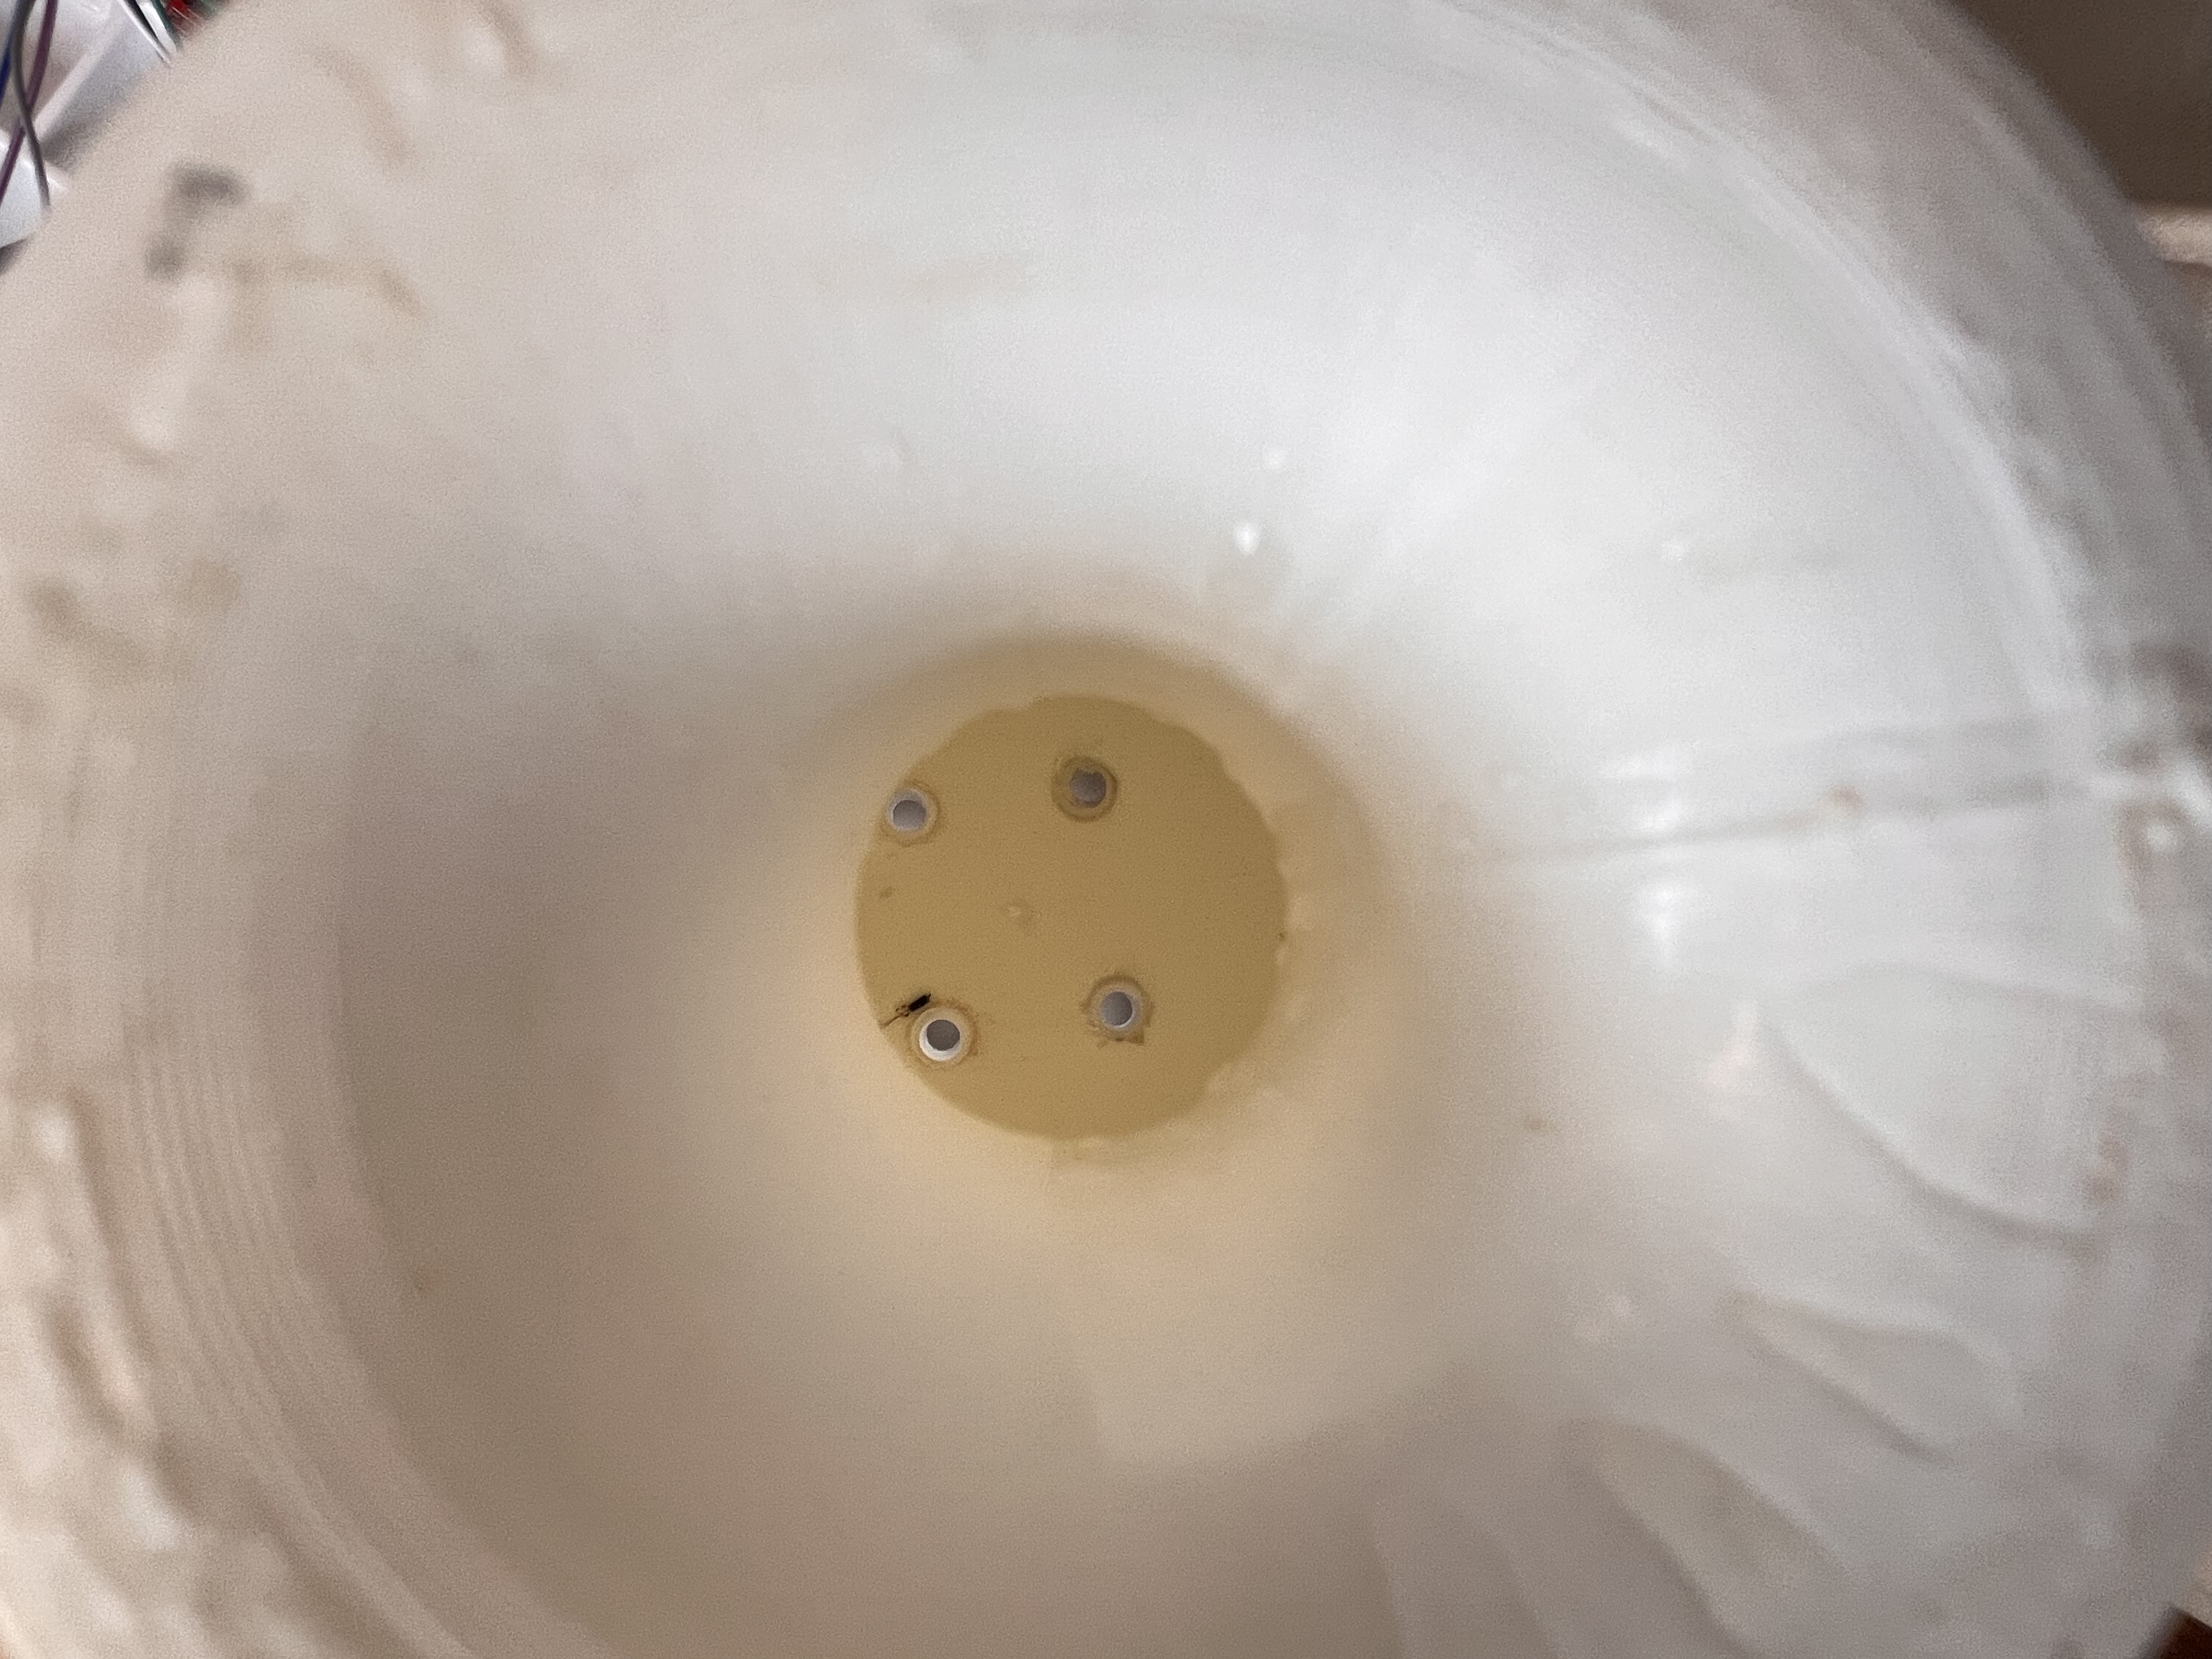
The original bottle contains support parts inside
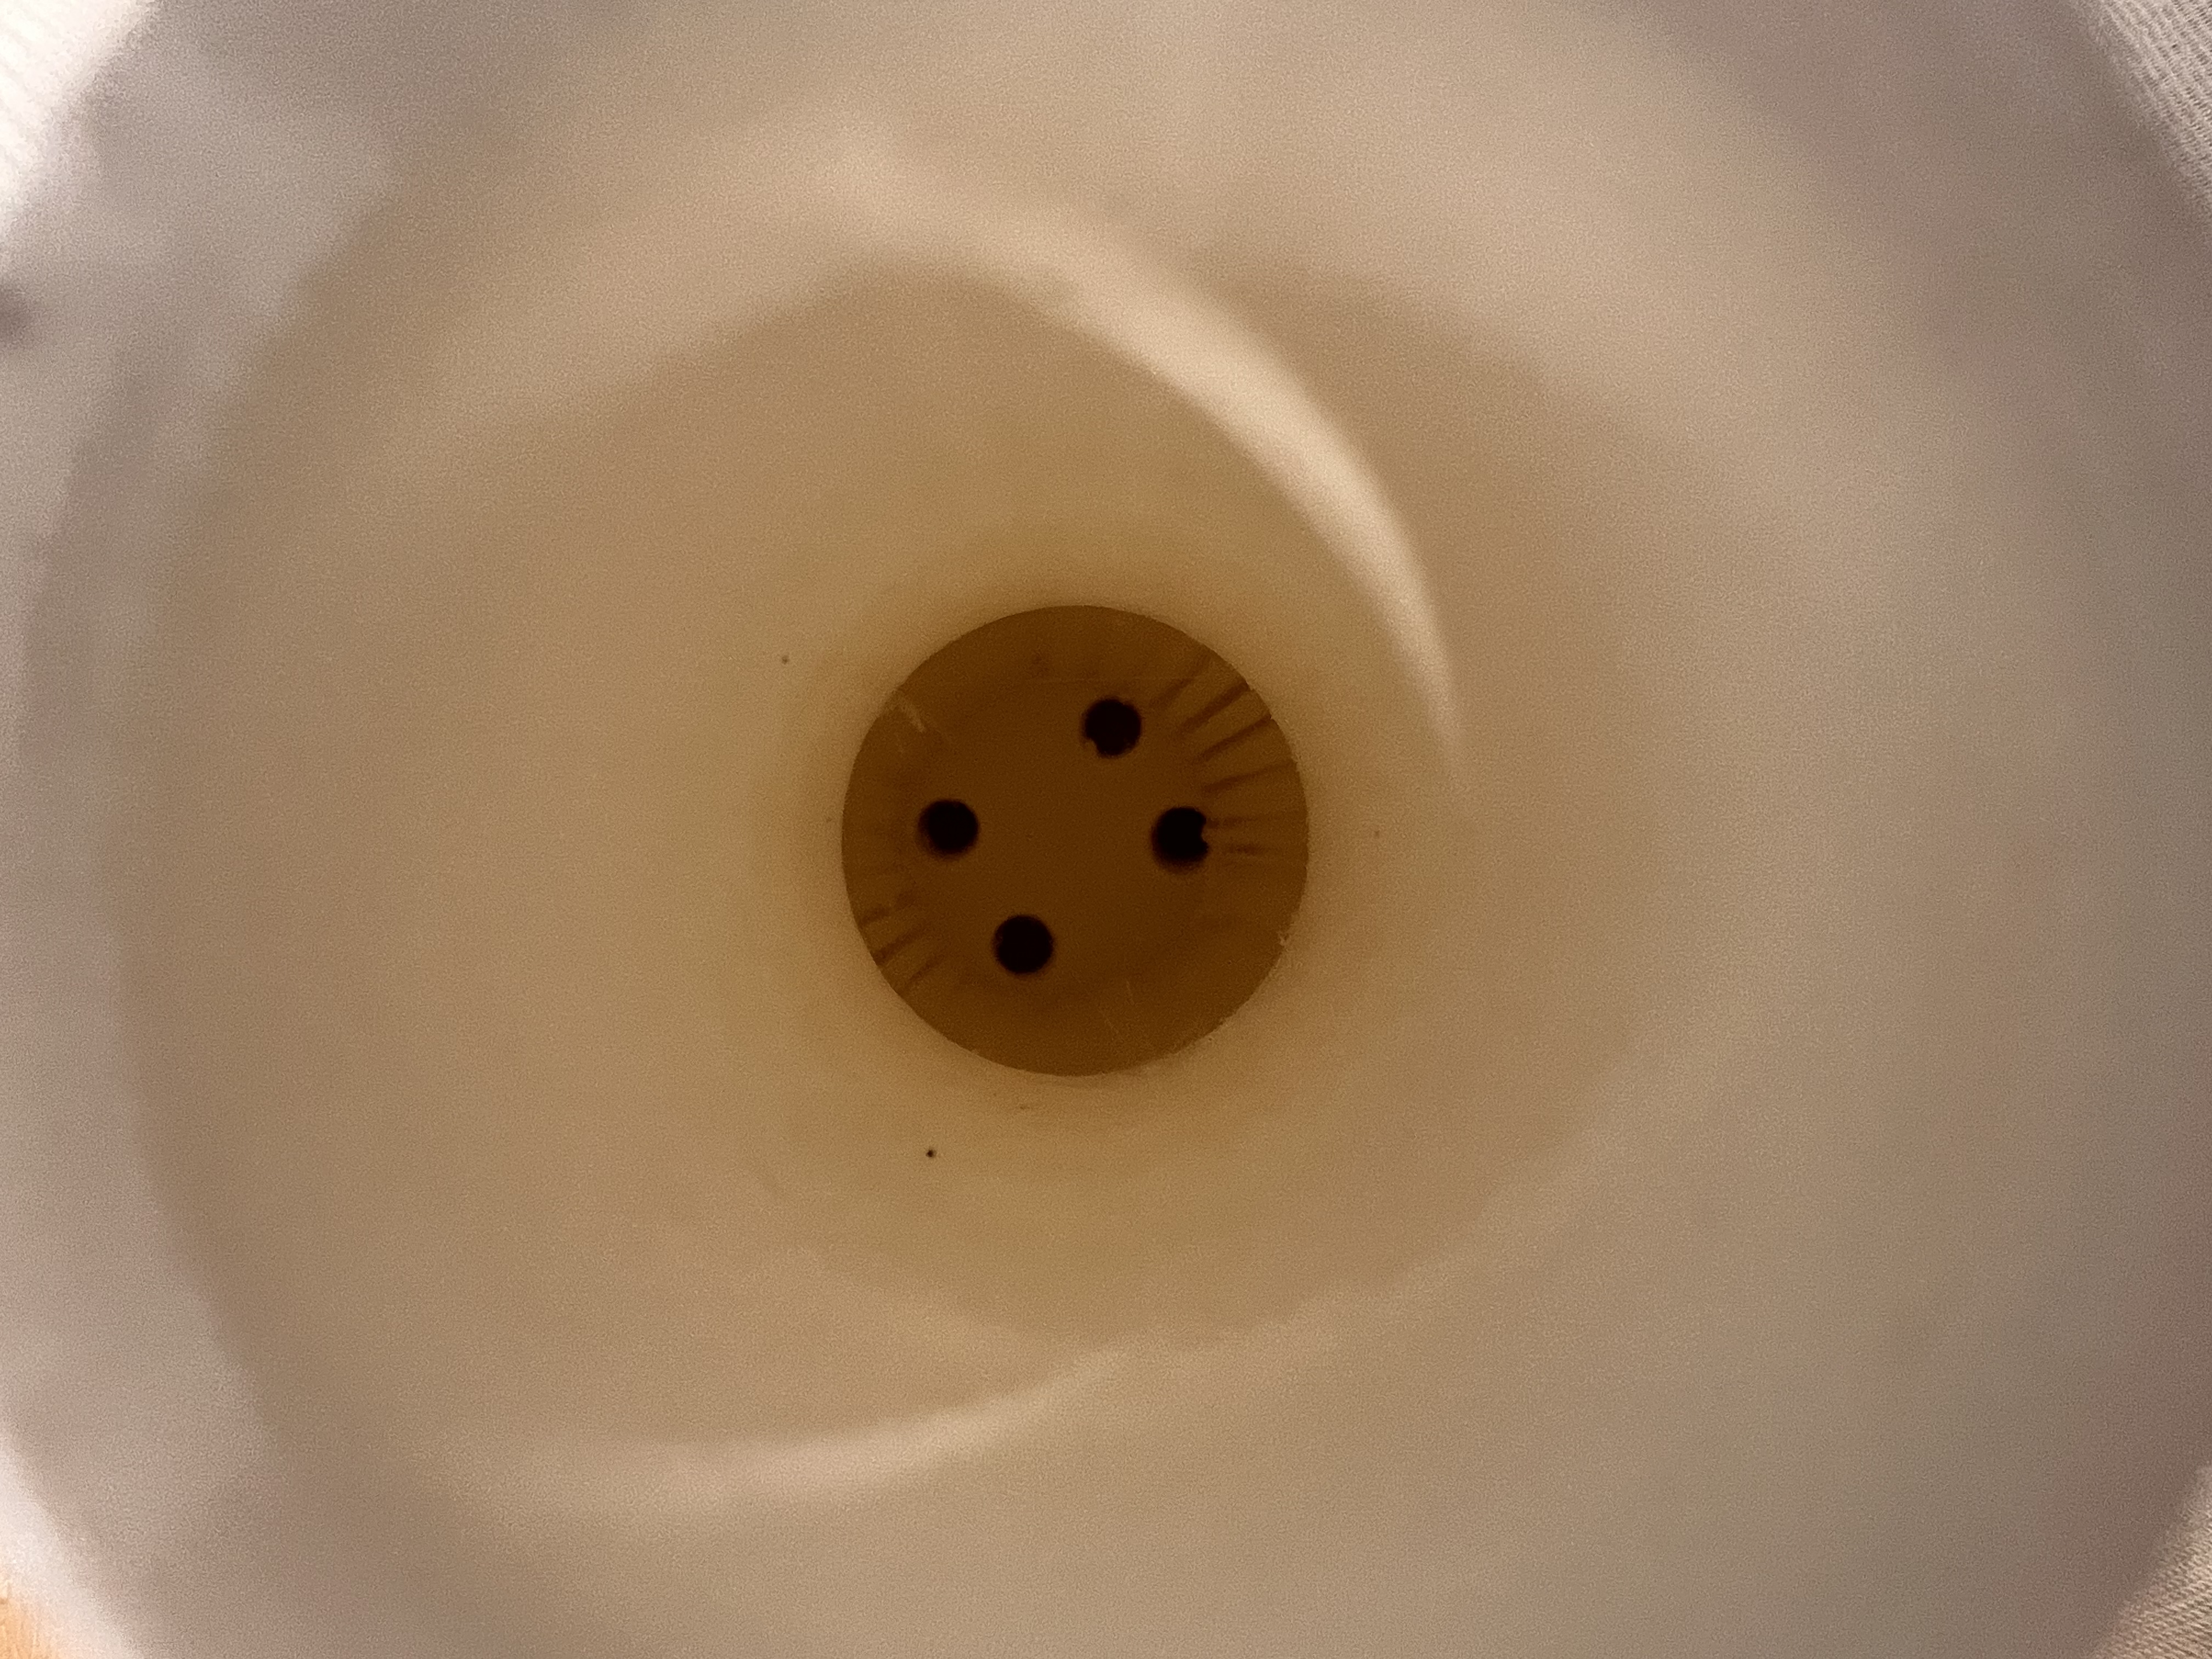
The new bottle does not contain support inside
Try to read gcode
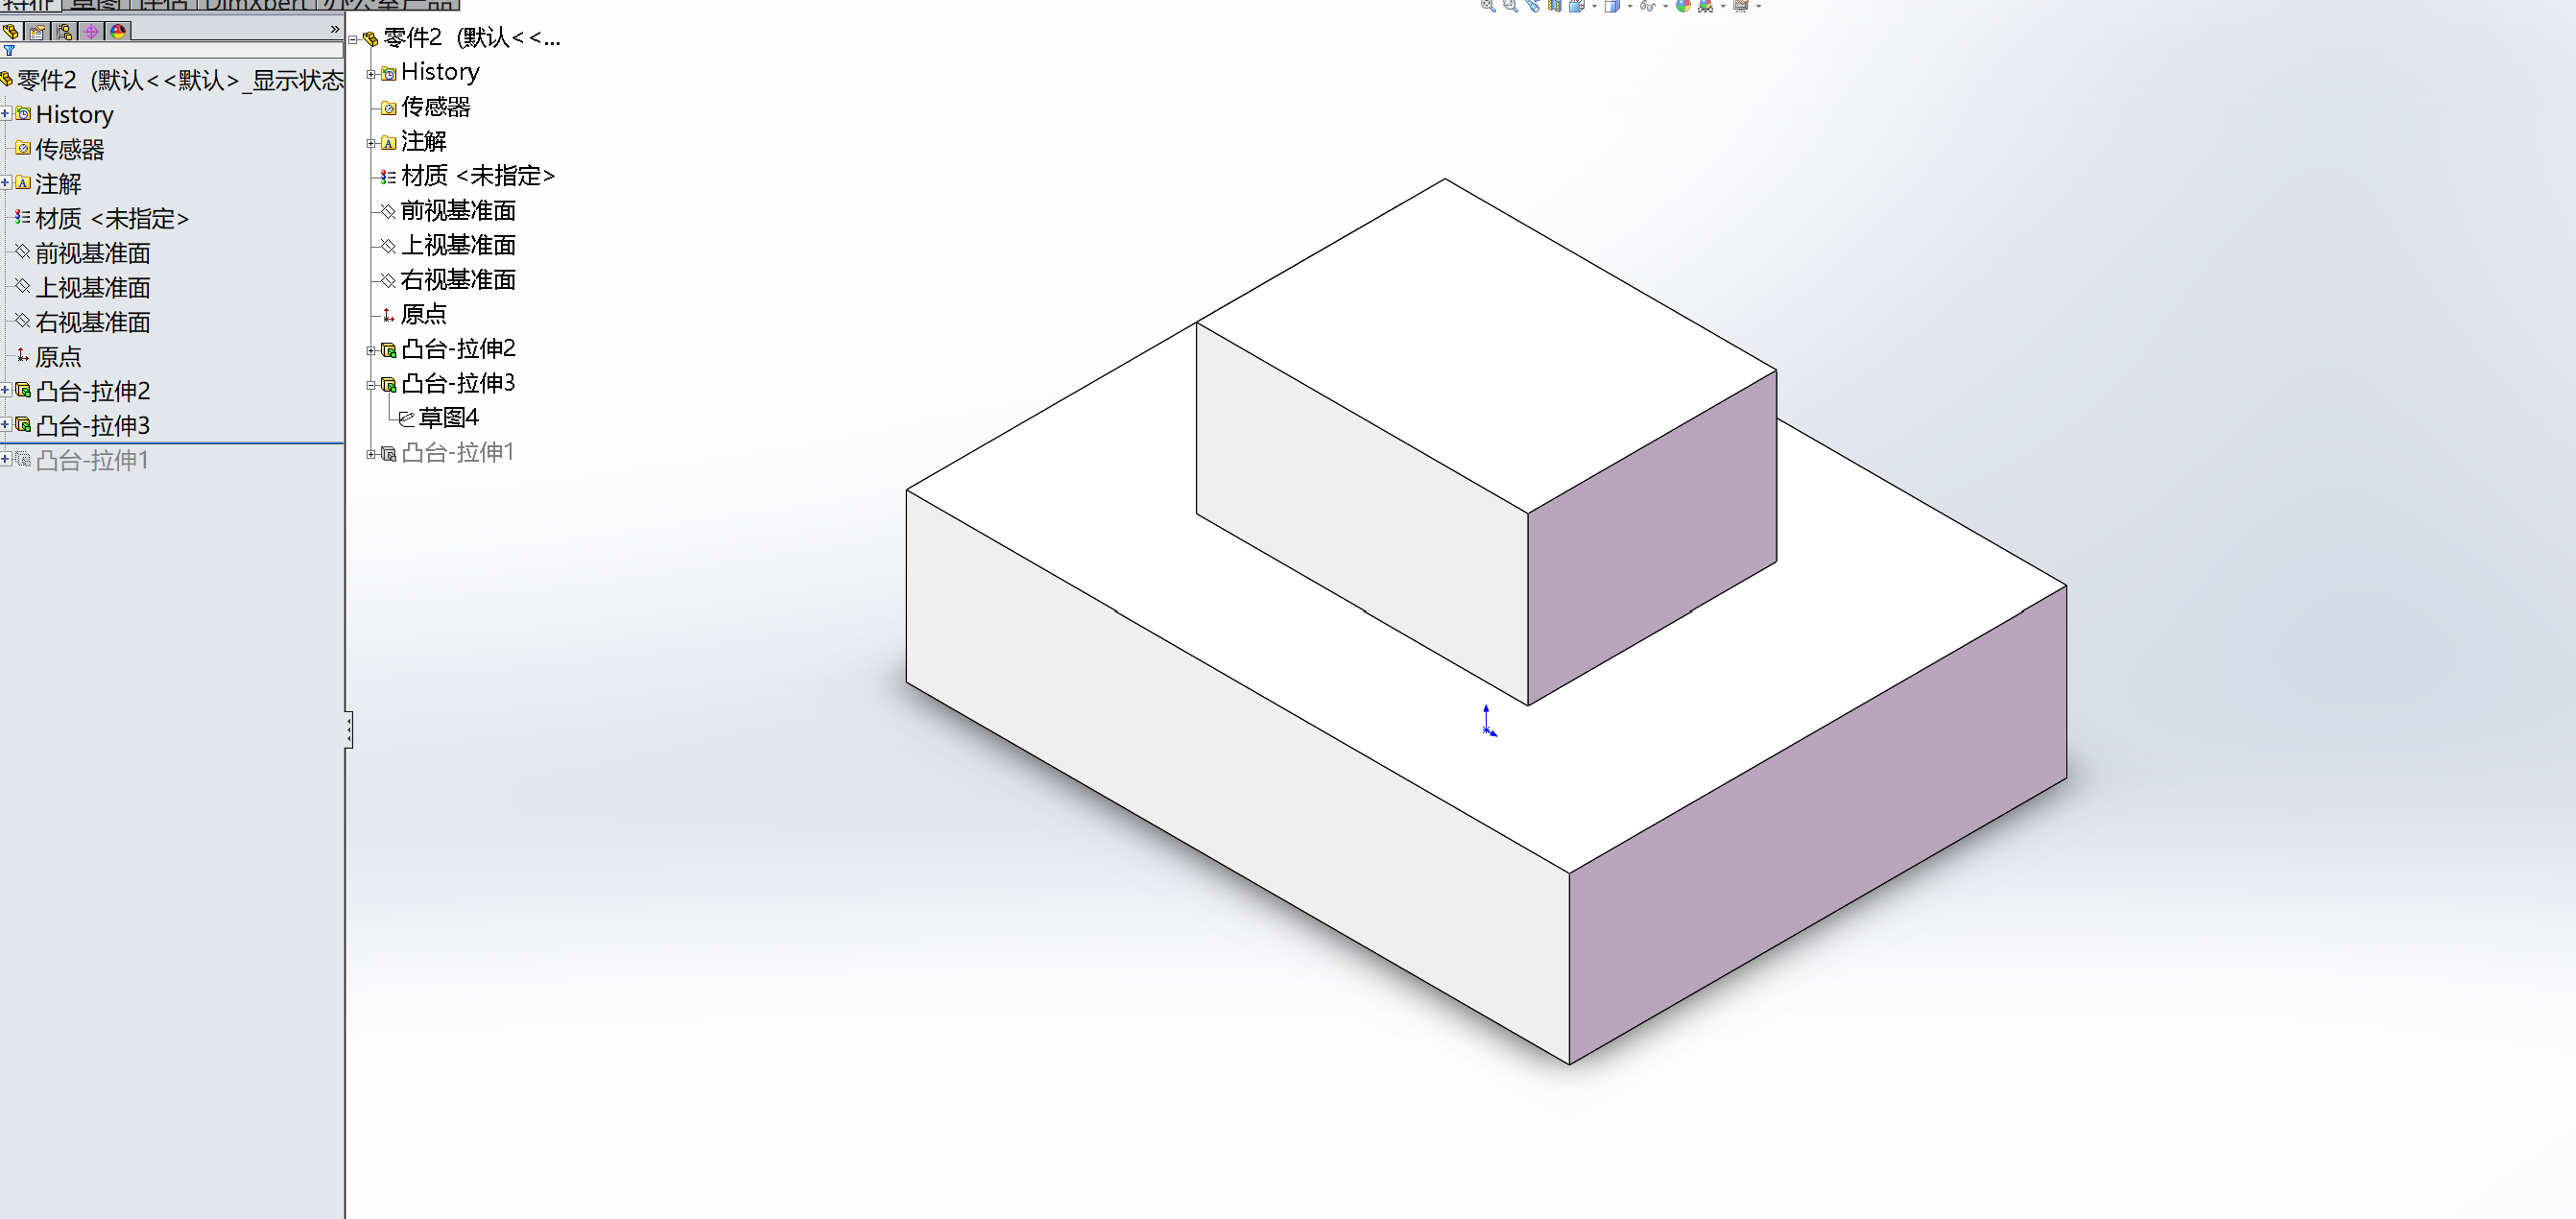
Two layers of three-dimensional graphics are created in modeling software and exported in STL format.
Drag the exported STL file into Cura 3D software.
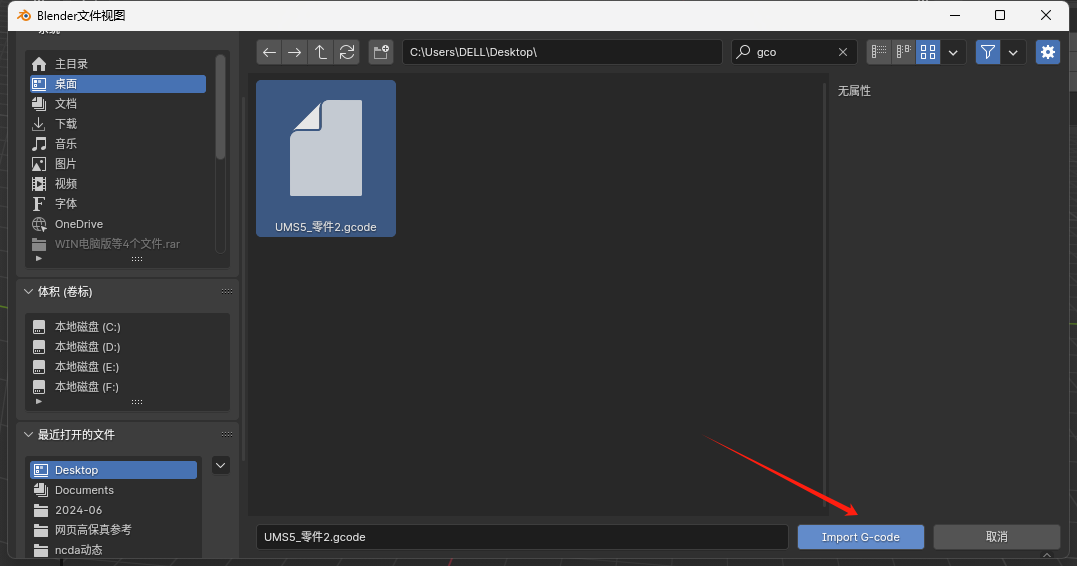
Select the gcode export file.
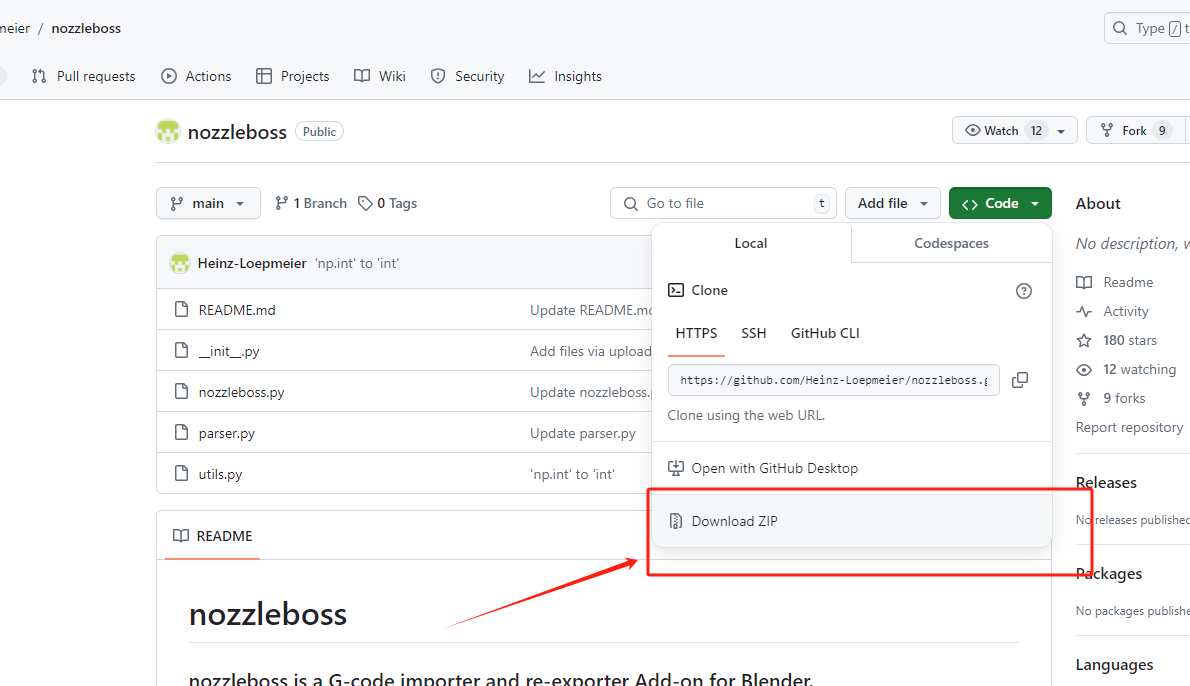
Search for nozzleboss plugin on github

Download in zip format
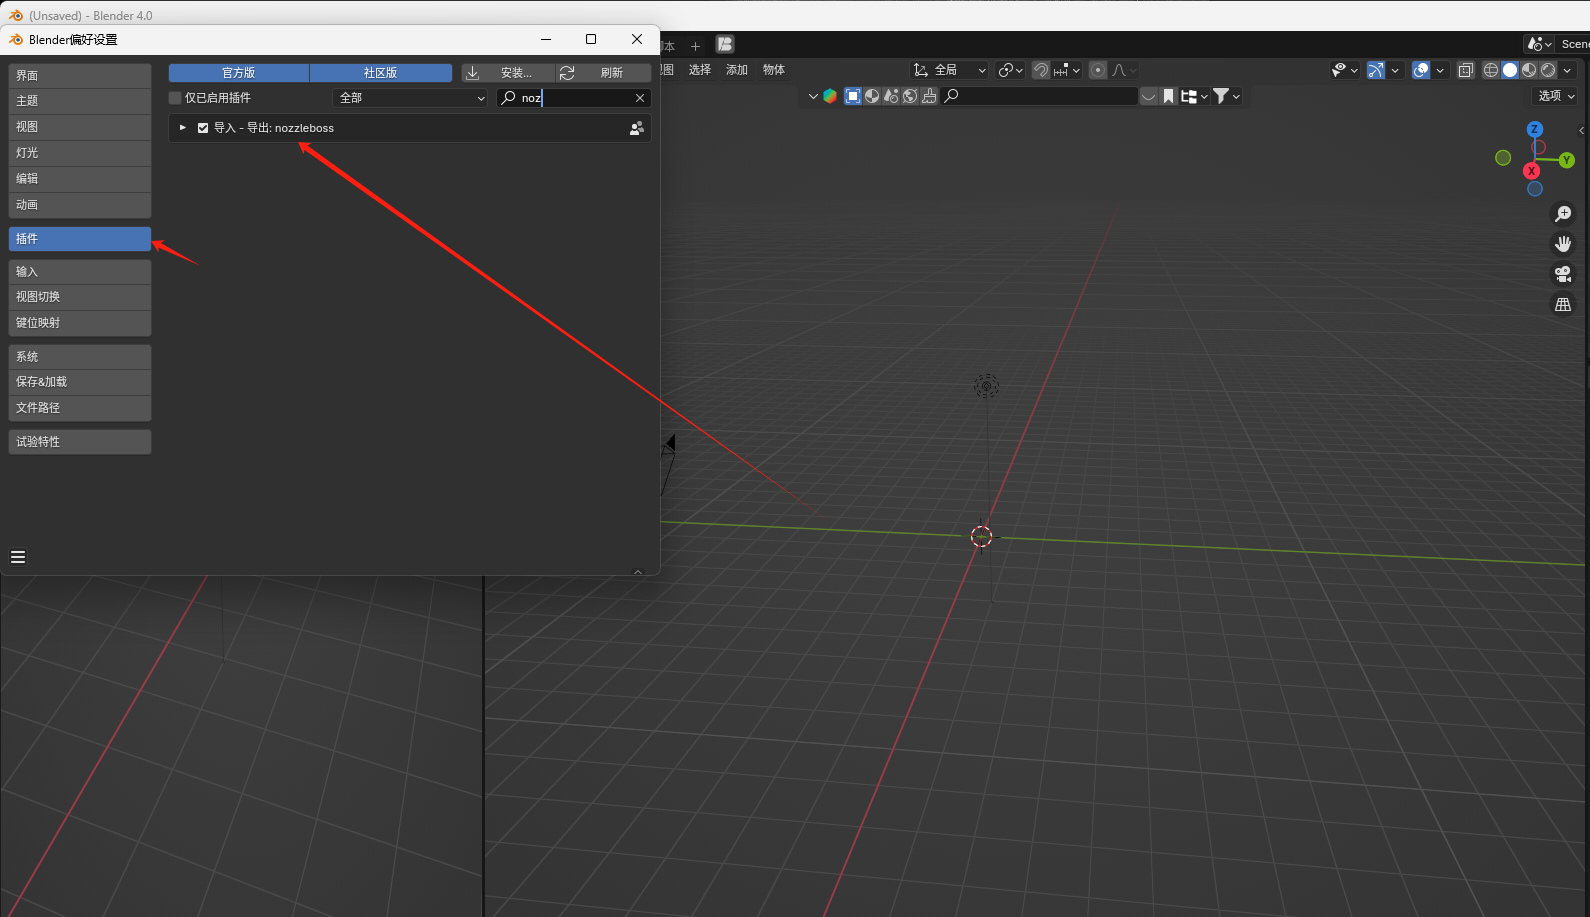
Install plugins in blender
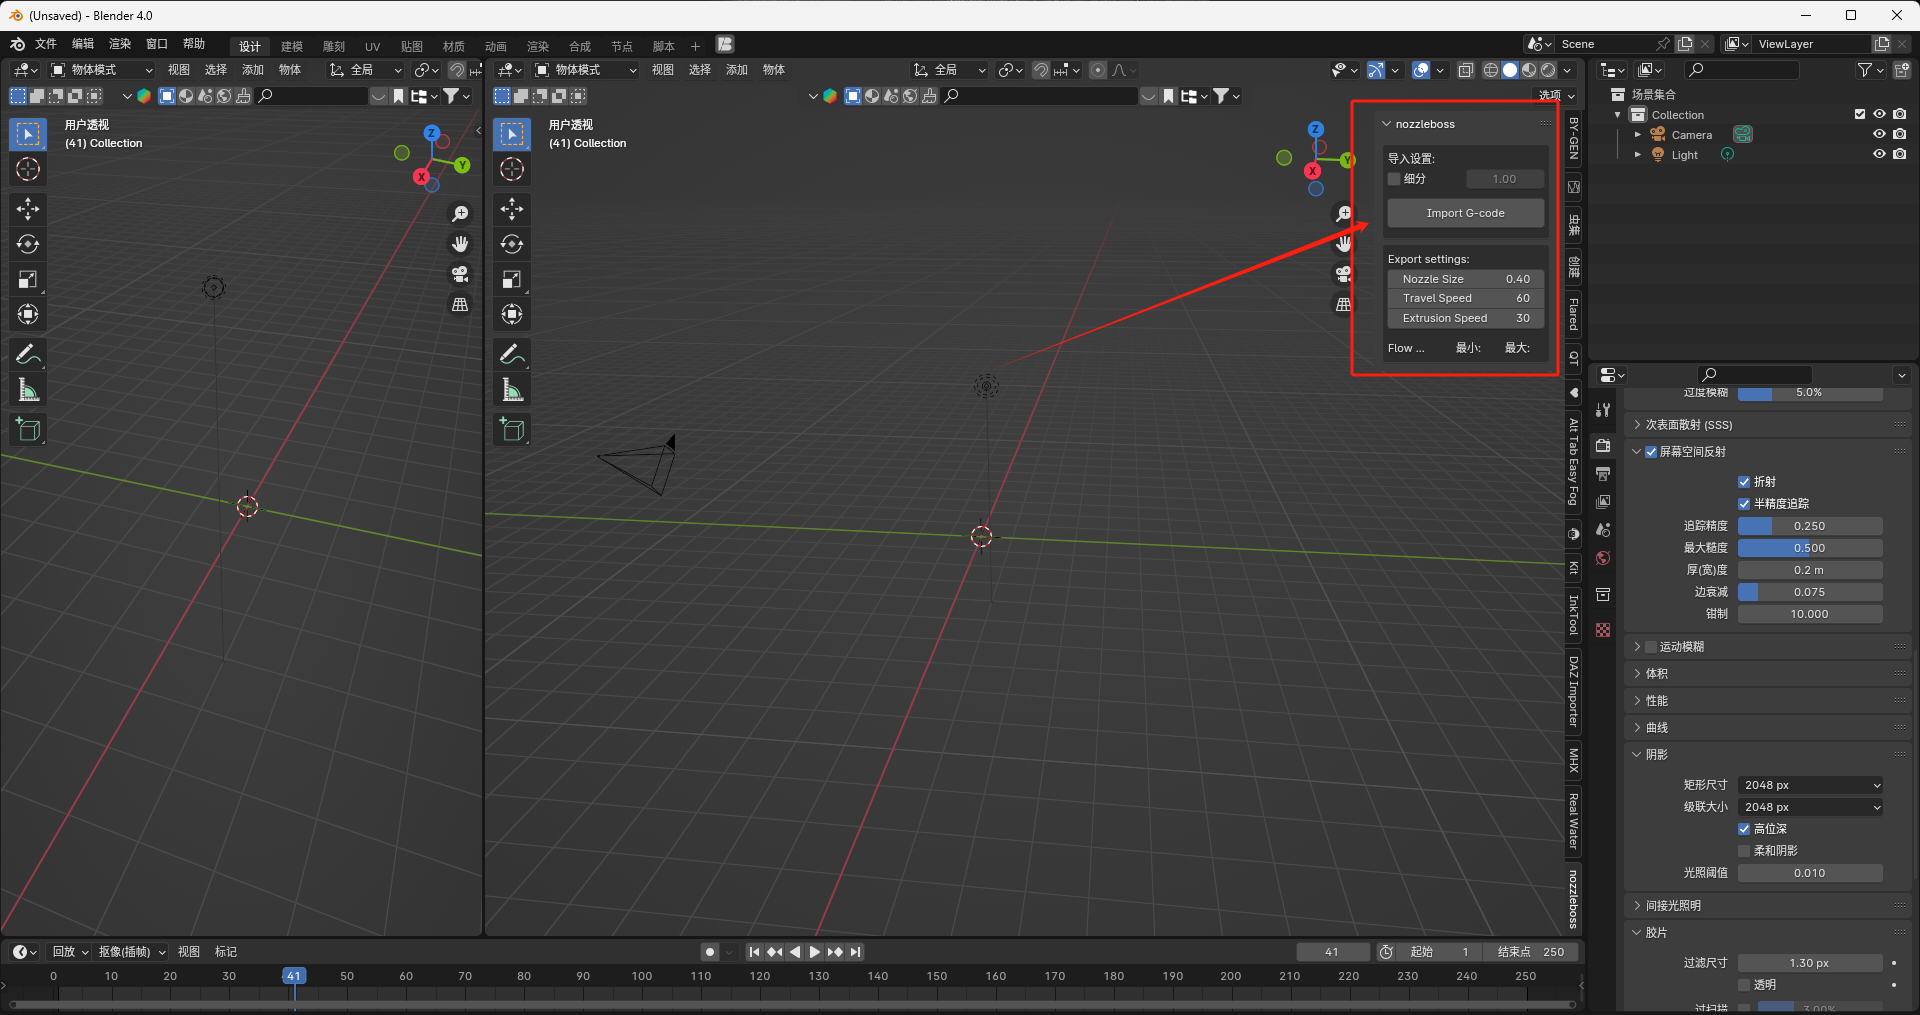
Generate a print path.